ESP32 进阶开发杂谈:从异步请求、动图显示到资源OTA
前言
阅读更多很多时候,我们从零开始构建一个ESP32项目,往往会掉进各种各样的“坑”里。
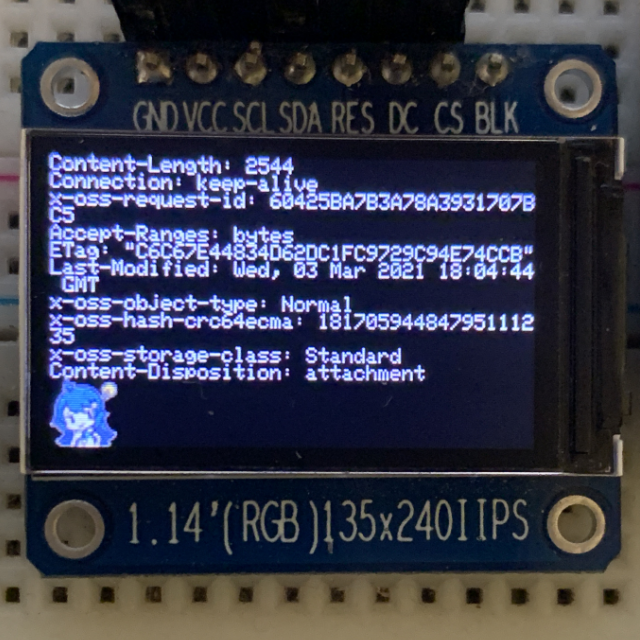
在之前的一些项目中(比如做个桌面像素小屏幕吧),我遇到过各种各样的问题:网络请求卡死主线程、屏幕显示太单调、休眠时PWM停转、以及每次只更新几张图片却要重刷整个固件的痛苦。
把这些坑踩平之后,我整理了四个在ESP32开发中非常实用的技巧。为了避免大家重蹈覆辙,也为了方便我自己日后查阅(Copy),这篇文章将把这些技术点汇总起来。
希望能给正在折腾ESP32的你提供一些灵感。