Preface
There is a relatively common requirement: when exporting and sharing a video, add a logo to the video, or add a source mark to the screen recording material.
The mainstream approaches on Android are roughly as follows:
- FFmpeg, , Classic solution,
overlayfilter, CPU software codec - Media3 Transformer, , Official solution, pure Kotlin/Java, bottom layer
MediaCodecHard-coded solution + GPU effect - Use hand rub OpenGL to draw, write a watermarked shader, and then re-encode the rendered picture
The first solution is the most commonly used: introduce a pre-compiled (or compile it yourself) FFmpeg library, and give it the watermarking command for execution. The price is that the size of the installation package increases a lot; of course, you can also compile FFmpeg yourself and cut out unused functions to achieve a balance.
The second option is the video editing component provided by Jetpack. It officially has the ability to add watermarks. It is very simple to use and supports text watermarks and image watermarks.
The third option is more original and is basically a hand-rubbed version of the second option.
This article introduces Media3’s watermark adding solution and compares it with FFmpeg.
Media3 plan
Media3 has made “adding effects to videos” into a pure Kotlin/Java API. Hardware encoding, decoding and GPU rendering are all encapsulated at the bottom layer, without touching JNI.
Add dependencies
Transformer In media3-transformer, the watermark effect is OverlayEffect In media3-effect, add the three together:
implementation(libs.media3.common)
implementation(libs.media3.effect)
implementation(libs.media3.transformer)
Watermark Bitmap
The two routes share the same watermark drawn by Canvas, so the comparison is fair:
fun createWatermarkBitmap(): Bitmap {
    val width = 800
    val height = 240
    val bitmap = Bitmap.createBitmap(width, height, Bitmap.Config.ARGB_8888)
    val canvas = Canvas(bitmap)

    val paint = Paint().apply {
        color = Color.argb(230, 255, 255, 255)
        textSize = 140f
        isAntiAlias = true
        textAlign = Paint.Align.CENTER
        typeface = Typeface.DEFAULT_BOLD
    }
    val text = "CHAOSGOO"
    val baseline = (height + paint.fontMetrics.descent - paint.fontMetrics.ascent) / 2 - paint.fontMetrics.descent
    canvas.drawText(text, width / 2f, baseline, paint)
    return bitmap
}
StaticOverlaySettings: anchor point coordinate system
Where and how big the watermark is placed is controlled by StaticOverlaySettings. It uses a normalized anchor point coordinate system. It is easy to get confused when you use it for the first time. Let’s expand:
backgroundFrameAnchor(x, y): Where does the watermark anchor point fall in video frameoverlayFrameAnchor(x, y): Which point of the watermark itself should be aligned?- The value range of x/y is all
[-1, 1]:-1is left/top,0is centered,1is right/bottom
So the “lower right corner welt” is the lower right corner of the background frame (1, 1) versus the lower right corner of the watermark (1, 1):
val overlaySettings = StaticOverlaySettings.Builder()
    .setBackgroundFrameAnchor(1f, 1f)   // 背景帧的右下角
    .setOverlayFrameAnchor(1f, 1f)      // 水印自身的右下角
    .setScale(0.2f, 0.2f)               // 水印尺寸 = 视频宽 * 0.2, 视频高 * 0.2
    .setAlphaScale(0.8f)                // 半透明
    .build()
If you want to place it in the upper left corner, just change both anchor points to (-1f, -1f); if you want to center it, change both anchor points to 0f. setScale is the ratio relative to the width and height of the video frame, so when the same set of configuration is placed on 1080p and 4K, the watermark will not be suddenly large or small - this is much more comfortable than FFmpeg writing offsets by pixels.
Assemble the Effect and start it
val watermarkOverlay = BitmapOverlay.createStaticBitmapOverlay(watermark, overlaySettings)
val overlayEffect = OverlayEffect(listOf(watermarkOverlay))
val effects = Effects(emptyList(), listOf<Effect>(overlayEffect))

val editedMediaItem = EditedMediaItem.Builder(MediaItem.fromUri(inputUri))
    .setEffects(effects)
    .build()

val transformer = Transformer.Builder(context)
    .addListener(object : Transformer.Listener {
        override fun onCompleted(composition: Composition, exportResult: ExportResult) {
            // 完成, exportResult 里有耗时/大小等统计
        }
        override fun onError(
            composition: Composition,
            exportResult: ExportResult,
            exportException: ExportException,
        ) {
            // 失败
        }
    })
    .setVideoMimeType(MimeTypes.VIDEO_H264)
    .setAudioMimeType(MimeTypes.AUDIO_AAC)
    .build()

transformer.start(editedMediaItem, outputPath)
A few points:
- The video effect is put into the second parameter of
Effects, and thenstart()is executed asynchronously, and the main thread is not blocked. OverlayEffectisGlEffect, it is a shader inside, watermark aliasing occurs on GPU, frame data does not need to be read back to the CPU- When no encoder is specified, H.264 is used by default;
MediaCodecIf you can find a hardware encoder, use the hardware. If not, fall back to the software. MediaItem.fromUri()Eat directlycontent://Uri, no need to copy the file first
progress bar
The return value of Transformer.getProgress(ProgressHolder) is the current progress percentage, but there is a pitfall: all methods of Transformer (including getProgress) must be called on the application thread that created it. The first line of getProgress in the source code is verifyApplicationThread(). Therefore, we cannot open a sub-thread for polling as intuitively, and will throw Transformer is accessed on the wrong thread directly. The correct posture is to return to the main thread for polling. When it ends/error occurs, remember removeCallbacks to stop:
val progressHandler = Handler(Looper.getMainLooper())
val progressHolder = ProgressHolder()
progressHandler.post(object : Runnable {
    override fun run() {
        if (!running) return
        val state = transformer.getProgress(progressHolder)
        if (state == Transformer.PROGRESS_STATE_AVAILABLE) {
            callback.onProgress(progressHolder.progress)
        }
        progressHandler.postDelayed(this, 100)
    }
})

// 在 onCompleted / onError 里:
running = false
progressHandler.removeCallbacksAndMessages(null)
text watermark
In addition to BitmapOverlay, there is also TextOverlay, whose usage is almost the same:
val textOverlay = TextOverlay.createStaticTextOverlay(
    SpannableString("CHAOSGOO 2026"),
    overlaySettings,
)
Note that the font size is internally fixed at 100px. If you want to adjust the font size, you can only rely on setScale to zoom in and out - don’t look for setTextSize, there is no such hole.
FFmpeg solution
Dependency: ffmpeg-kit has been removed from Maven Central
The comparison implementation uses com.arthenica:ffmpeg-kit-full-gpl. There are two pitfalls here. The first one is after 2025: ffmpeg-kit has stopped updating, and the entire package has been removed from Maven Central.-Directly adding dependencies will fail to parse:
Could not find com.arthenica:ffmpeg-kit-full:6.0-2.LTS.The second pitfall is more hidden: ffmpeg-kit-full and ffmpeg-kit-full-gpl are not the same thing - libx264/libx265 are GPL encoders, and only packages with the -gpl suffix carry. Use full package to write -c:v libx264, and it will report directly when running:
Unknown encoder 'libx264'So either change to full-gpl or don’t use x264. The price is full-gpl making the entire ffmpeg binary subject to GPL v3. Commercial closed-source apps must consider licensing issues.
The method that can still be used at present: Alibaba Cloud image retains the historical version, which can be parsed by adding it to the warehouse list:
repositories {
    google()
    mavenCentral()
    maven("https://maven.aliyun.com/repository/public") // ffmpeg-kit 残存
}

implementation("com.arthenica:ffmpeg-kit-full-gpl:6.0-2.LTS")
A few points to note: 6.0-2.LTS requires minSdk 24; full-gpl’s AAR is larger than full (it adds several more x264/x265/xvidcore GPL libraries, full version 4 ABI’s so Together, the debug package reaches 141MB); the one above Unknown encoder 'libx264' is a typical symptom of wrong package selection.
overlay filter
The usage of ffmpeg-kit is exactly the same as the command line. Just spell the command into a string and throw it in:
val command = listOf(
    "-y",
    "-i", inputPath,
    "-i", watermarkPath,
    "-filter_complex", "overlay=main_w-overlay_w-24:main_h-overlay_h-24",
    "-c:v", "libx264",
    "-preset", "medium",
    "-c:a", "copy",
    outputPath,
).joinToString(" ")

FFmpegKit.executeAsync(
    command,
    { session ->  // 完成回调, session.returnCode 判断成败
        if (ReturnCode.isSuccess(session.returnCode)) {
            callback.onSuccess(output)
        } else {
            callback.onError(session.getAllLogs().joinToString("\n") { it.message })
        }
    },
    { log ->      // 日志回调, 进度在这解析
        val message = log.message
        val match = TIME_REGEX.find(message)
        val timeSeconds = timeToSeconds(match.groupValues[1])
        callback.onProgress((timeSeconds / durationSeconds * 100).toInt())
    },
    null,          // statistics 回调, 用不到
)
The coordinates of the filter overlay are pixel offset:main_w-overlay_w-24, which means the main picture width minus the watermark width minus 24px. Compared with Media3’s normalized anchor point, you have to calculate the ratio yourself when changing videos of different resolutions.
There is no ready-made API for progress, so we can only rely on regular expressions in the log time=00:00:12.34:
private val TIME_REGEX = Regex("""time=(\d{2}:\d{2}:\d{2}\.\d{2})""")The total duration is obtained with FFprobeKit.getMediaInformation(path) (6.0-2 is a synchronous API and returns directly):
val duration = FFprobeKit.getMediaInformation(inputPath)
    .mediaInformation?.duration?.toDoubleOrNull() ?: 0.0
Another point is different from Media3: ffmpeg can only read the file path, and the content:// Uri selected by SAF must be copied to the cache directory first (this dirty work is done in ContentUriUtil).
Contrast
I have run through both routes. Let’s first look at the actual measured time-for the same piece of material and the same mobile phone, the hardware encoding of Media3 only took 5.3s, and the ffmpeg software encoding took 60s, which is more than ten times the difference:
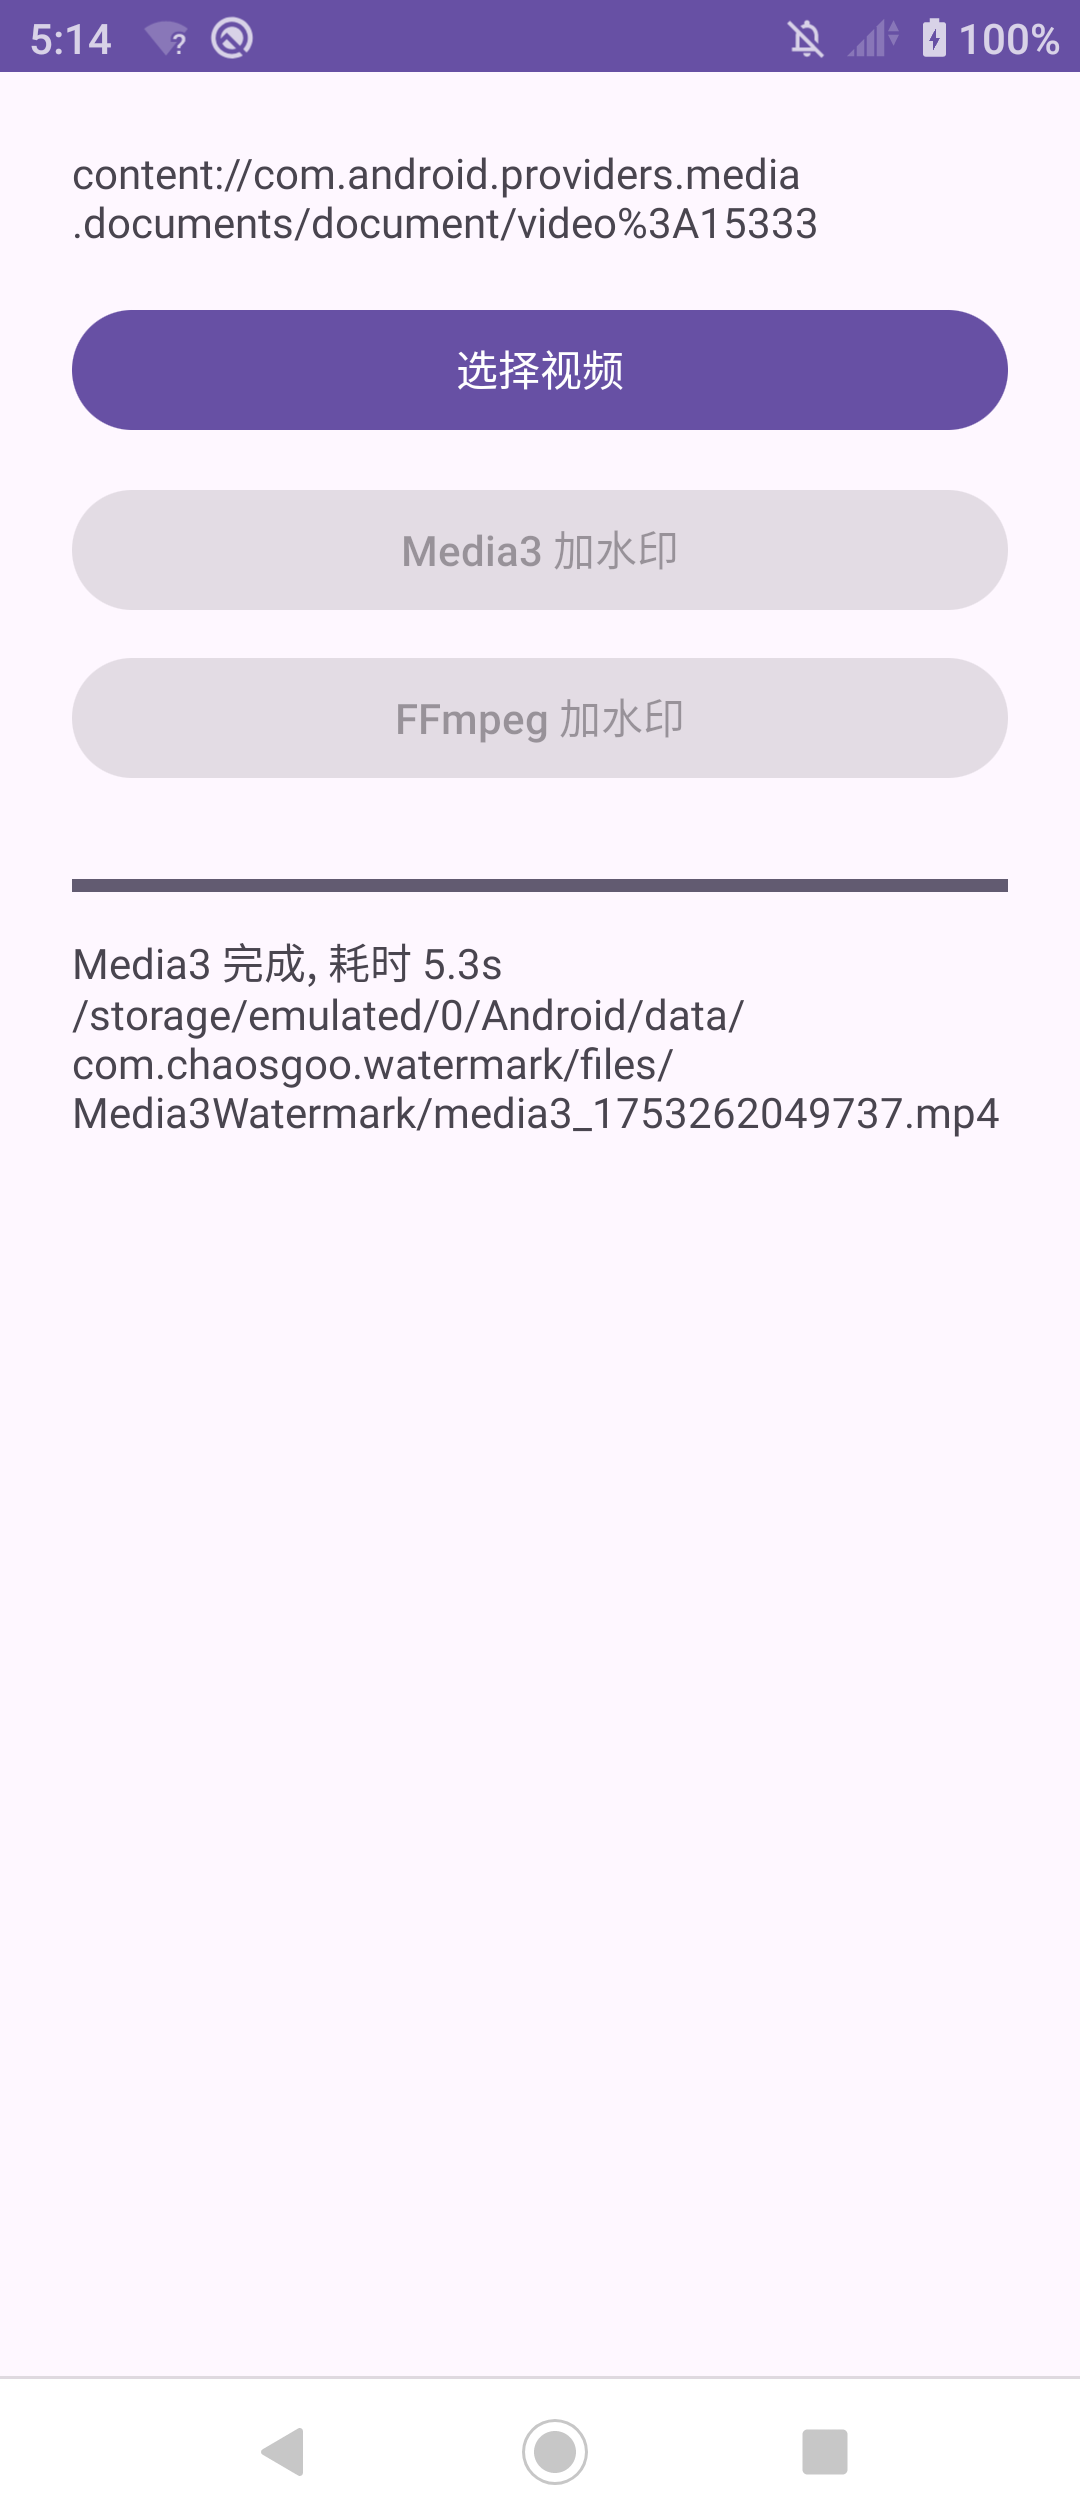
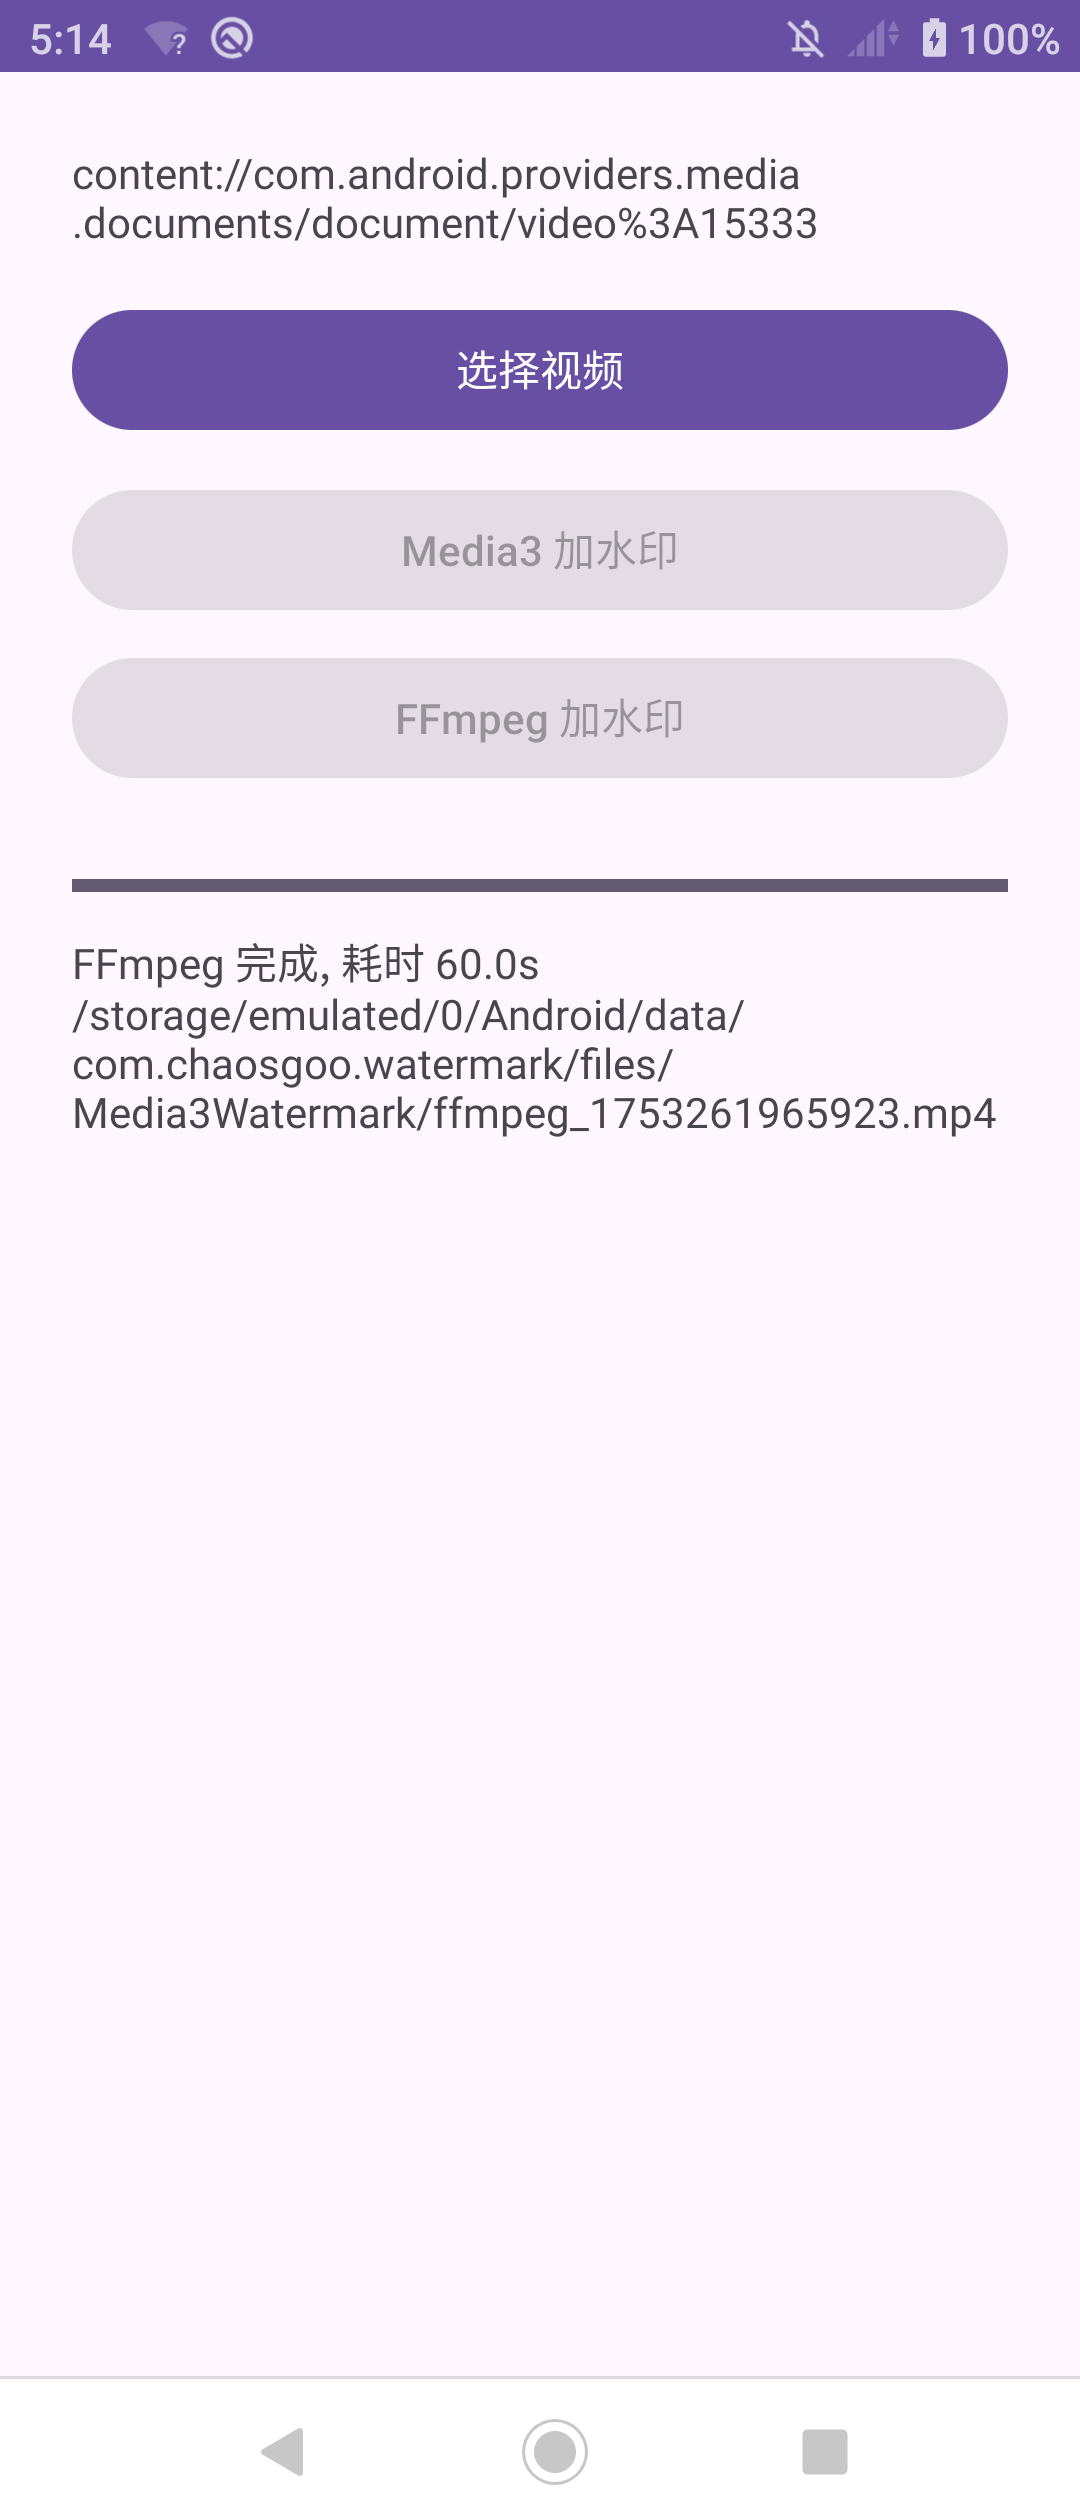
The specific numbers will change due to different test material lengths and mobile phone chips, but this order of magnitude difference is stable - the advantages of hard coding will be further amplified in long videos. The differences are mainly in these dimensions:
| Media3 Transformer | ffmpeg-kit (FFmpeg) | |
|---|---|---|
| Processing pipeline | GPU (GL shader) + MediaCodec hard-coded | CPU software pipeline (libavfilter + x264) |
| Watermark positioning | Normalized anchor point, automatically adapt to resolution | Pixel offset, multiple resolutions need to be calculated by yourself |
| Enter | and eat directly content:// Uri | Only eat the file path |
| Dependency volume | Pure Java/Kotlin, ~a few MB | AAR 65MB (full version), arm64 single ABI about 23MB |
| minSdk | 21 | 24 (LTS version) |
| Codec capability | MediaCodec supported formats | FFmpeg Family Bucket (full-gpl including x264/x265) |
| Encoding speed | Depends on equipment hard coding, fast | Software coding, slow, but the result is stable |
| API stability | @UnstableApi, there are changes between versions | Stable for many years, consistent with the command line |
| Maintenance status | Google official continues to iterate | Updates have been stopped and removed from Maven Central |
| Cancellation/Progress | cancel() + getProgress() | FFmpegKit.cancel() + Log |
| Custom filter | Can only stack effects/simple transformations | Any filter image, you can do fancy things |
How to choose:
- To save package size, have good equipment hardware, and have simple functions (Watermark/Crop/Compress)→ Choose Media3. Official route, more than a dozen lines of code, follow Google’s lead in upgrading
- For ultimate format compatibility and complex filter processing (batch transcoding, professional filters, unpopular formats such as webm) → Choose FFmpeg at the cost of the 20~60MB so, a dependency that has been discontinued, and the GPL license
- There is no conflict between the two routes, you can mix them as needed
References
- Media3 Transformer official documentation
- OverlayEffect / BitmapOverlay / TextOverlay reference
- ffmpeg overlay filter documentation
- ffmpeg-kit GitHub(no updates and archives)
- Sample project of this article:samples/media3-video-watermark