In cross-end development, there are some scenarios that are more troublesome for Flutter to handle or more efficient using native components.
At this time, you have to use PlatformView and MethodChannel. Not only does it insert an Android native TextView into the Flutter layout, it also enables two-way interaction between Flutter and the native Android View.
For the sake of intuition, I plan to demonstrate based on Flutter’s default counter template. The interface layout and floating buttons are still from Flutter, but the number displayed in the middle is replaced by Android’s native TextView.
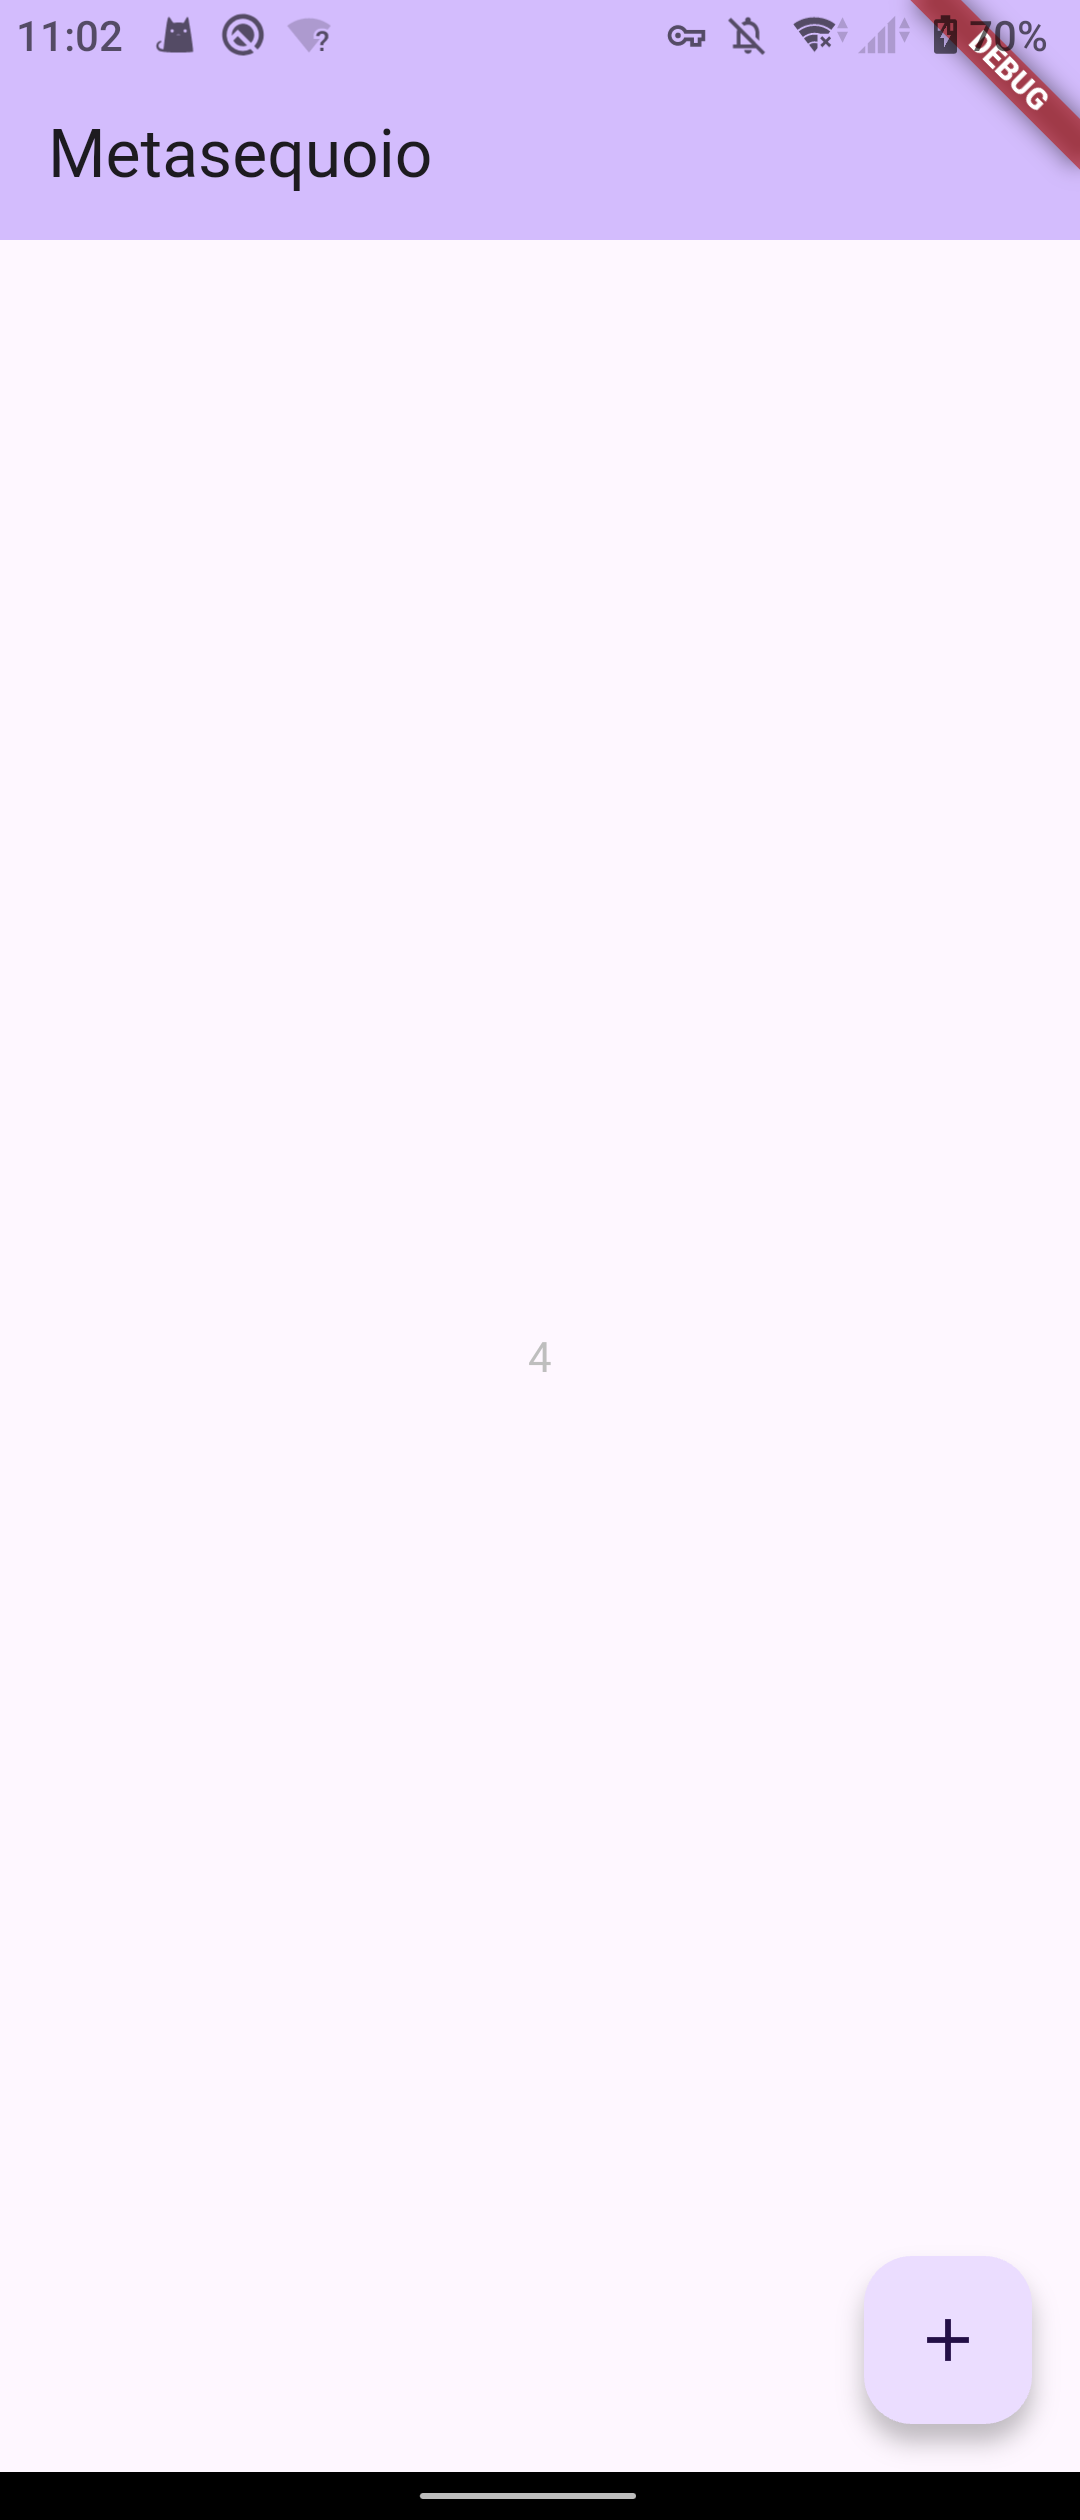
Embed the native View
The key to integrating Android’s View into Flutter’s Widget tree is to use PlatformView. It can participate in hierarchical coverage and event distribution like a regular Widget. (Similar to AndroidView in Compose, but due to cross-language issues, Flutter’s embedding will be more complicated than Compose)
1. Implement native rendering layer (Kotlin)
If you want to embed Android native View into Flutter, you have to make a wrapper class for the native View, which inherits from PlatformView. And you need to implement the getView() method to return the View you want to embed.
In order to allow subsequent MethodChannel to find this View instance, I specifically use a HashMap to manage them.
The following is a demonstration called NativeAndroidView. Its constructor has three parameters, namely viewId, args, and viewMaps.
**viewId:**This is a unique identifier automatically generated by the Flutter side. When you have multiple identical native components on your page, it’s the only credential that distinguishes “who is who.”
**args (CreationParams):**This is the initialization “gift package” passed from Dart. It is recommended to handle properties that only need to be set once (such as initial color, mode, etc.) here to reduce the communication pressure of subsequent MethodChannel.
**viewMaps:**This is the “address book” we maintain at the plug-in layer. By binding the viewId to the instance, we can accurately find the corresponding TextView to update when receiving the Flutter command.
// NativeAndroidView.kt
class NativeAndroidView(
    context: Context,
    messenger: BinaryMessenger,
    private val viewId: Int,
    args: Map<String, Any>?,
    private val viewMaps: HashMap<Int, PlatformView?>
) : PlatformView {

    private val textView = TextView(context)

    init {
        // 设置布局参数,虽然 PlatformView 往往会忽略 WrapContent
        textView.layoutParams = ViewGroup.LayoutParams(
            LayoutParams.WRAP_CONTENT,
            LayoutParams.WRAP_CONTENT
        )
        // 接受来自 Flutter 的初始参数
        textView.text = (args?.get("text") as? String).orEmpty()
        // 存入 Map 方便后续寻找
        viewMaps[viewId] = this
    }

    override fun getView(): View = textView

    override fun dispose() {
        viewMaps.remove(viewId)
    }
}
2. Factory class for connection
Flutter needs to pass a factory class to create the View just defined.
So manually define a NativeAndroidViewFactory class, inherited from PlatformViewFactory.
// NativeAndroidViewFactory.kt
class NativeAndroidViewFactory(
    private val messenger: BinaryMessenger,
    private val nativeViewMaps: HashMap<Int, PlatformView?>
) : PlatformViewFactory(StandardMessageCodec.INSTANCE) {

    override fun create(context: Context?, viewId: Int, args: Any?): PlatformView {
        return NativeAndroidView(context!!, messenger, viewId, args as Map<String, Any>?, nativeViewMaps)
    }
}
Logical communication: MethodChannel
Now that the factory class and View for building View are available, the next step is how to let Flutter communicate with the native View.
When talking about cross-end communication, it is inevitable to think of the wild way of monitoring
alertto transmit messages during Hybrid development. Flutter’s cross-end communication is based onMethodChannel, based on binary messages, which is refreshing and efficient.
In order to make the code cleaner, I encapsulated View registration and message processing in the plug-in class (FlutterPlugin). Pay attention to the increment branch here, which uses viewId to accurately locate the native View instance on the screen and operate it.
FlutterPluginprovides us with two methodsonAttachedToEngineandonDetachedFromEngineto perceive the life cycle in Flutter.
// NativeAndroidViewPlugin.kt
class NativeAndroidViewPlugin : FlutterPlugin {
    private val nativeViewMaps = HashMap<Int, PlatformView?>()

    override fun onAttachedToEngine(binding: FlutterPlugin.FlutterPluginBinding) {
        val channel = MethodChannel(binding.binaryMessenger, "native_android_plugin")
        channel.setMethodCallHandler { call, result ->
            when (call.method) {
                "increment" -> {
                    val id = call.argument<Int>("viewId")
                    val text = call.argument<Int>("counter")
                    // 动态更新原生 View 的文字
                    nativeViewMaps[id]?.let { viewInstance ->
                        (viewInstance.view as TextView).text = text.toString()
                        result.success("0")
                    } ?: result.error("1", "View not found", null)
                }
            }
        }

        // 注册原生 UI 组件
        binding.platformViewRegistry.registerViewFactory(
            "plugins.flutter.io/native_android_view",
            NativeAndroidViewFactory(binding.binaryMessenger, nativeViewMaps)
        )
    }
}
Finally, don’t forget to install the plugin in MainActivity.kt.
How to connect this end of Flutter?
Flutter is very straightforward here. The tedious work has been done before. Use AndroidView directly and pass the previously defined parameters. If you want to further communicate with the native View, use the id in the onPlatformViewCreated callback to communicate with the native view with the help of MethodChannel.
// lib/main.dart

static const platform = MethodChannel('native_android_plugin');

Widget buildNativeView() {
    // 1. 平台安全检查
    if (defaultTargetPlatform == TargetPlatform.android) {
      return AndroidView(
        viewType: 'plugins.flutter.io/native_android_view',
        creationParams: const {'text': 'Android 原生 View'},
        creationParamsCodec: const StandardMessageCodec(),
        onPlatformViewCreated: (id) => _nativeViewId = id,
      );
    }

    // 2. 降级处理 (iOS 或其他平台)
    return const Center(
      child: Text('当前平台暂不支持此原生组件', style: TextStyle(color: Colors.grey)),
    );
  }

// 发送更新指令
platform.invokeMethod('increment', {
  'counter': _counter++,
  'viewId': _nativeViewId
});
PlatformView is “greedy”
In the process of tossing, you may find that PlatformView has a very significant characteristic: It is greedy., He wants to take up all the space possible.
In Android development, we are accustomed to using WRAP_CONTENT to make View adapt to the content size. But under Flutter’s PlatformView system, this trick fails. You will find that even if you write adaptive code in your native code, this native View will still forcefully fill all the space given to it by the parent layout.
Why does this happen?
Because from a rendering perspective, PlatformView is actually an independent composition layer in Flutter’s Layer Tree. Flutter rendering engines (such as the new version of Impeller) need to pre-allocate a fixed-size textures or Surface to receive native rendering output. It is not like the ordinary Flutter Widget that can dynamically shrink the border according to the size of the sub-plugin in real time.
How to solve ?
Don’t try to control borders on the native side of Android (changing LayoutParams is almost useless). You must apply a layer of constraints to AndroidView on the Flutter side, such as using SizedBox to specify the width and height, or using AspectRatio to lock the proportion. Only by limiting the size of the “pool” on that side will the native View inside be obedient.
To sum up
Bottom view:
PlatformView is nice, but it essentially “digs holes” in Flutter’s rendering canvas. If you are familiar with OpenGL, you can understand it as: Flutter shares the EGLContext with the native side, and the rendering result of the native component is directly written to the specified textureID. For Flutter, it is only responsible for consuming this texture and does not participate in its internal complex rendering instructions.
Applicable scenarios:
Heavy native SDK: Map, WebView, video player, etc. Extremely high-frequency dynamic updates: Such as real-time rolling refresh of serial port logs, spectrum charts, etc. This kind of scenario uses the cache pool and local refresh mechanism of the native View to be more efficient.
Scenarios to use with caution:
Simple UI styles (rounded corners, shadows, animations): If it can be solved by self-drawing with Flutter, always choose Flutter first. Performance cost: Each layer of PlatformView will involve cross-thread texture submission and synchronization overhead. Excessive use will lead to memory growth and obvious frame drops.