background
The group owner of the Jetpack Compose tutorial I bought recently has been praising how powerful Codex, Claude Code and the like are, which sparked my interest in this CLI-style AI. It’s time to study it.

Preliminary understanding
I simply searched for a few introductory videos on Bilibili, especially the one from Codex Demo. One person issues multiple tasks, and then there is an AI behind each task to automatically modify the code for him in different branches, and debug the code until the task is completed. I can’t wait to experience the power of one person working like a whole team.
Get API
Due to policy reasons of OpenAI and Claude (and my card cannot be used for direct payment), I did not choose to purchase Chat GPT Plus and Claude Pro directly.
Based on comprehensive considerations, I chose the API transfer service provided by an agency. The advantage of this method is that it is cheap, can use both Codex and Claude, and does not require the configuration of an additional network proxy.
In order to get a better experience, I purchased a credit of US$160.
Mainstream models are billed by tokens, and agents will also set different magnification rates according to the model type. For example, codex is a 0.5 magnification rate, and claude is a normal magnification rate of 1.
Install Codex and Claude Code
Both Codex and Claude Code provide plug-in and command line usage. For the sake of flexibility, I did not choose plug-in installation, because I was not sure whether Idea’s plug-in could be used directly on Android Stduio. Finally, I chose the CLI method to install and use it, so that it can be used no matter what code editor or IDE I use.
The installation method of the CLI version of both tools is very simple, and the official installation script method is provided.
Install Codex
npm i -g @openai/codexIf you use the official openai account, enter codex in the console at this time. After starting, follow the instructions to open the browser and log in.
I am using a proxy, and the API configuration will be explained in the next section.
Install claud code
irm https://claude.ai/install.ps1 | iexSimilar to Codex, if you are using Claude’s official account, follow the instructions to open the browser and log in after startup.
Configure API
Because I am using a relay, I need additional configuration to use it normally. Fortunately, my forwarder provides a command configuration tool, making this a hassle-free process.
Install the 88-auto-config configuration tool
Here I use the command line configuration tool provided by 88code
npm install -g 88-auto-configStart configuration tool
[1] 配置 Claude Code (已安装)
[2] 配置 Codex (已安装)
[3] 配置 Claude Code + Codex 🚀 (推荐新手使用)
[4] 自定义选择
[5] 配置 Droid 自定义模型 (自动配置三个模型)
[8] 检测配置是否生效 🔍
[9] 配置 VS Code Claude 插件 📝
[0] 退出
Directly enter 3, press Enter, then enter the API created by 88code, and press Enter.
Save the configurationsource ~/.zshrcRefresh the terminal cache or restart the terminal
Give up on codex for now
For some reason, my codex cannot be used normally and always reports a 401 error. I will open a new pit later to analyze and troubleshoot why it cannot be used. So I switched to claude code, and will come back to codex again in the future, because its token consumption rate is only half.
first task
After entering the project directory, enter claude, and then use the /init command to let claude analyze the current project and create the basic configuration.
After the configuration is created, a CLAUDE.md will be generated in the root directory, which records Claude’s understanding of the project. We can also manually modify the content of CLAUDE.md to add explanations or corrections.
After checking that the content of CLAUDE.md was correct, I told Claude that I hoped Claude could develop the serial port monitor part for my flashing software. I had already reserved the routing and placeholder page for the bottom NavigationBar. I didn’t know how far he would develop it. I also asked Claude to consider the issue of serial port occupancy.
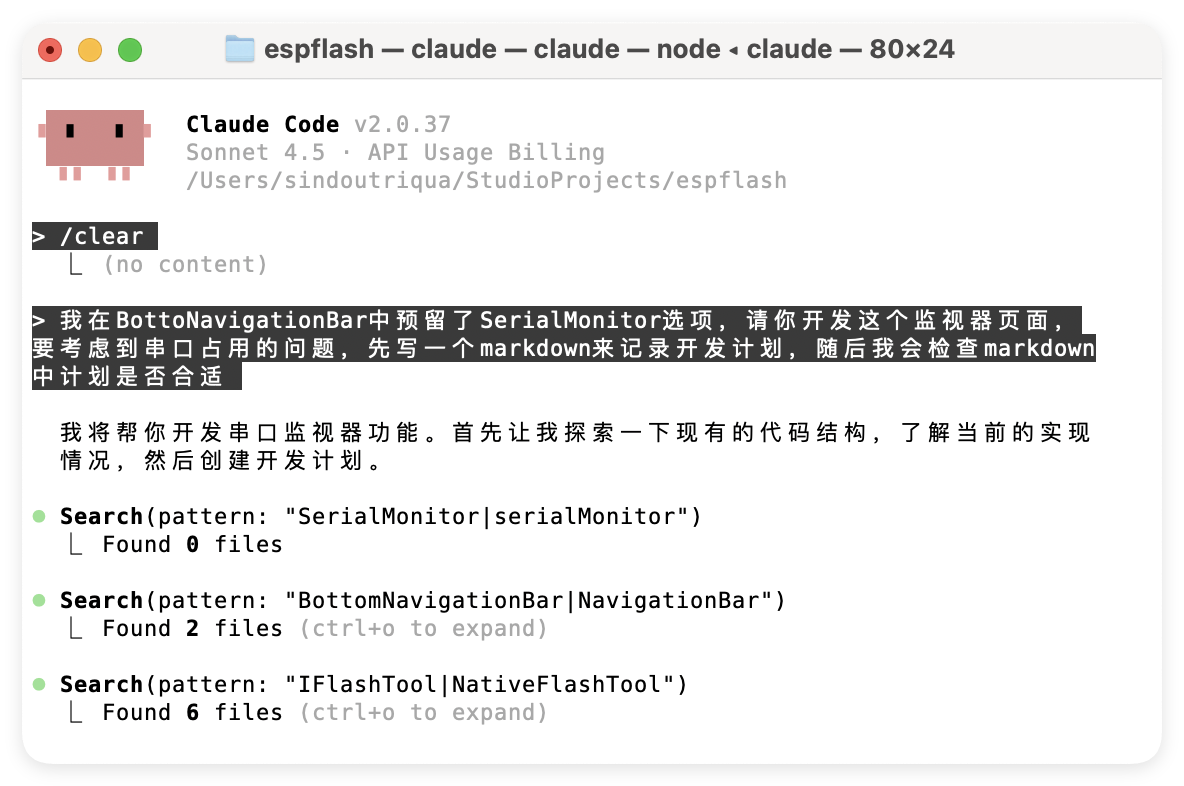 After the conversation is completed, Claude starts working. In the next process, he will detect syntax errors and call compile to check whether the compilation is successful. It looks like a real person writing code.
Acceptance
After Claude’s development was completed, the terminal beeped, which reminded me that it was time for acceptance.
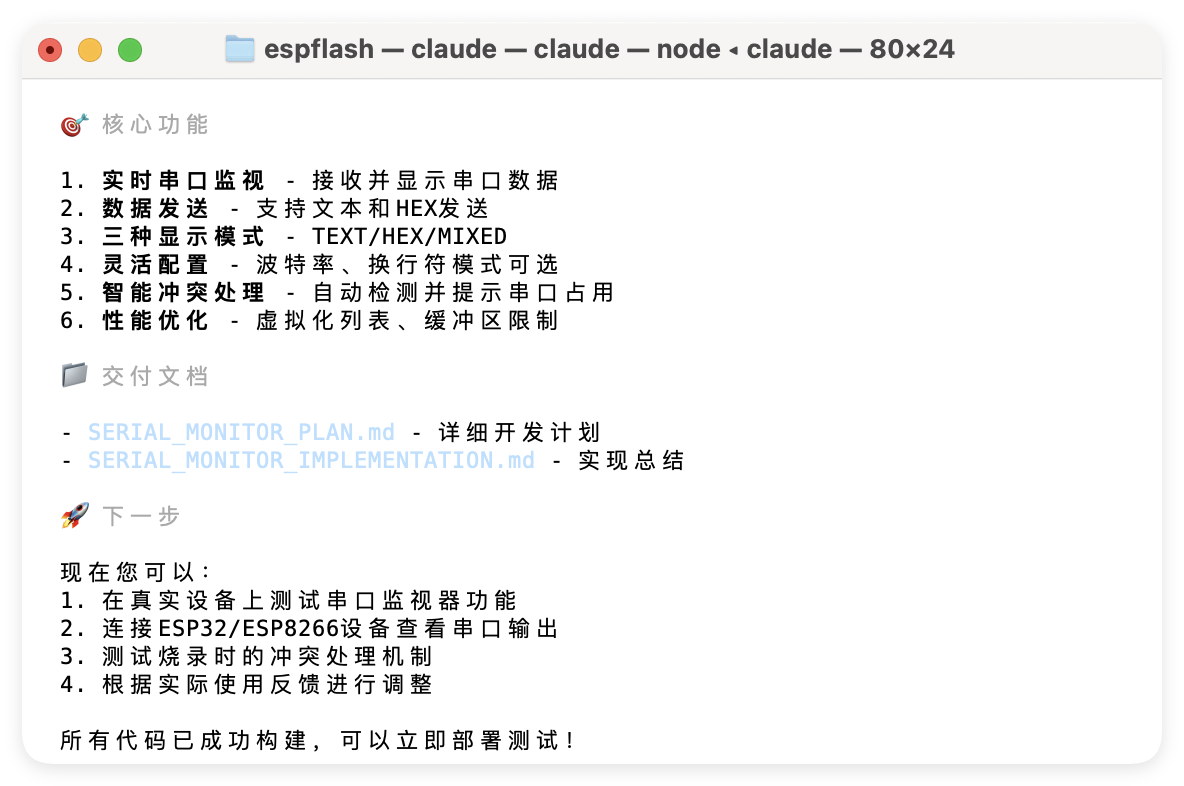 I entered
 ctrl+r with anticipation and uncertainty. I was shocked when I saw the actual effect, which was no less shocking than the first time I used ChatGPT.
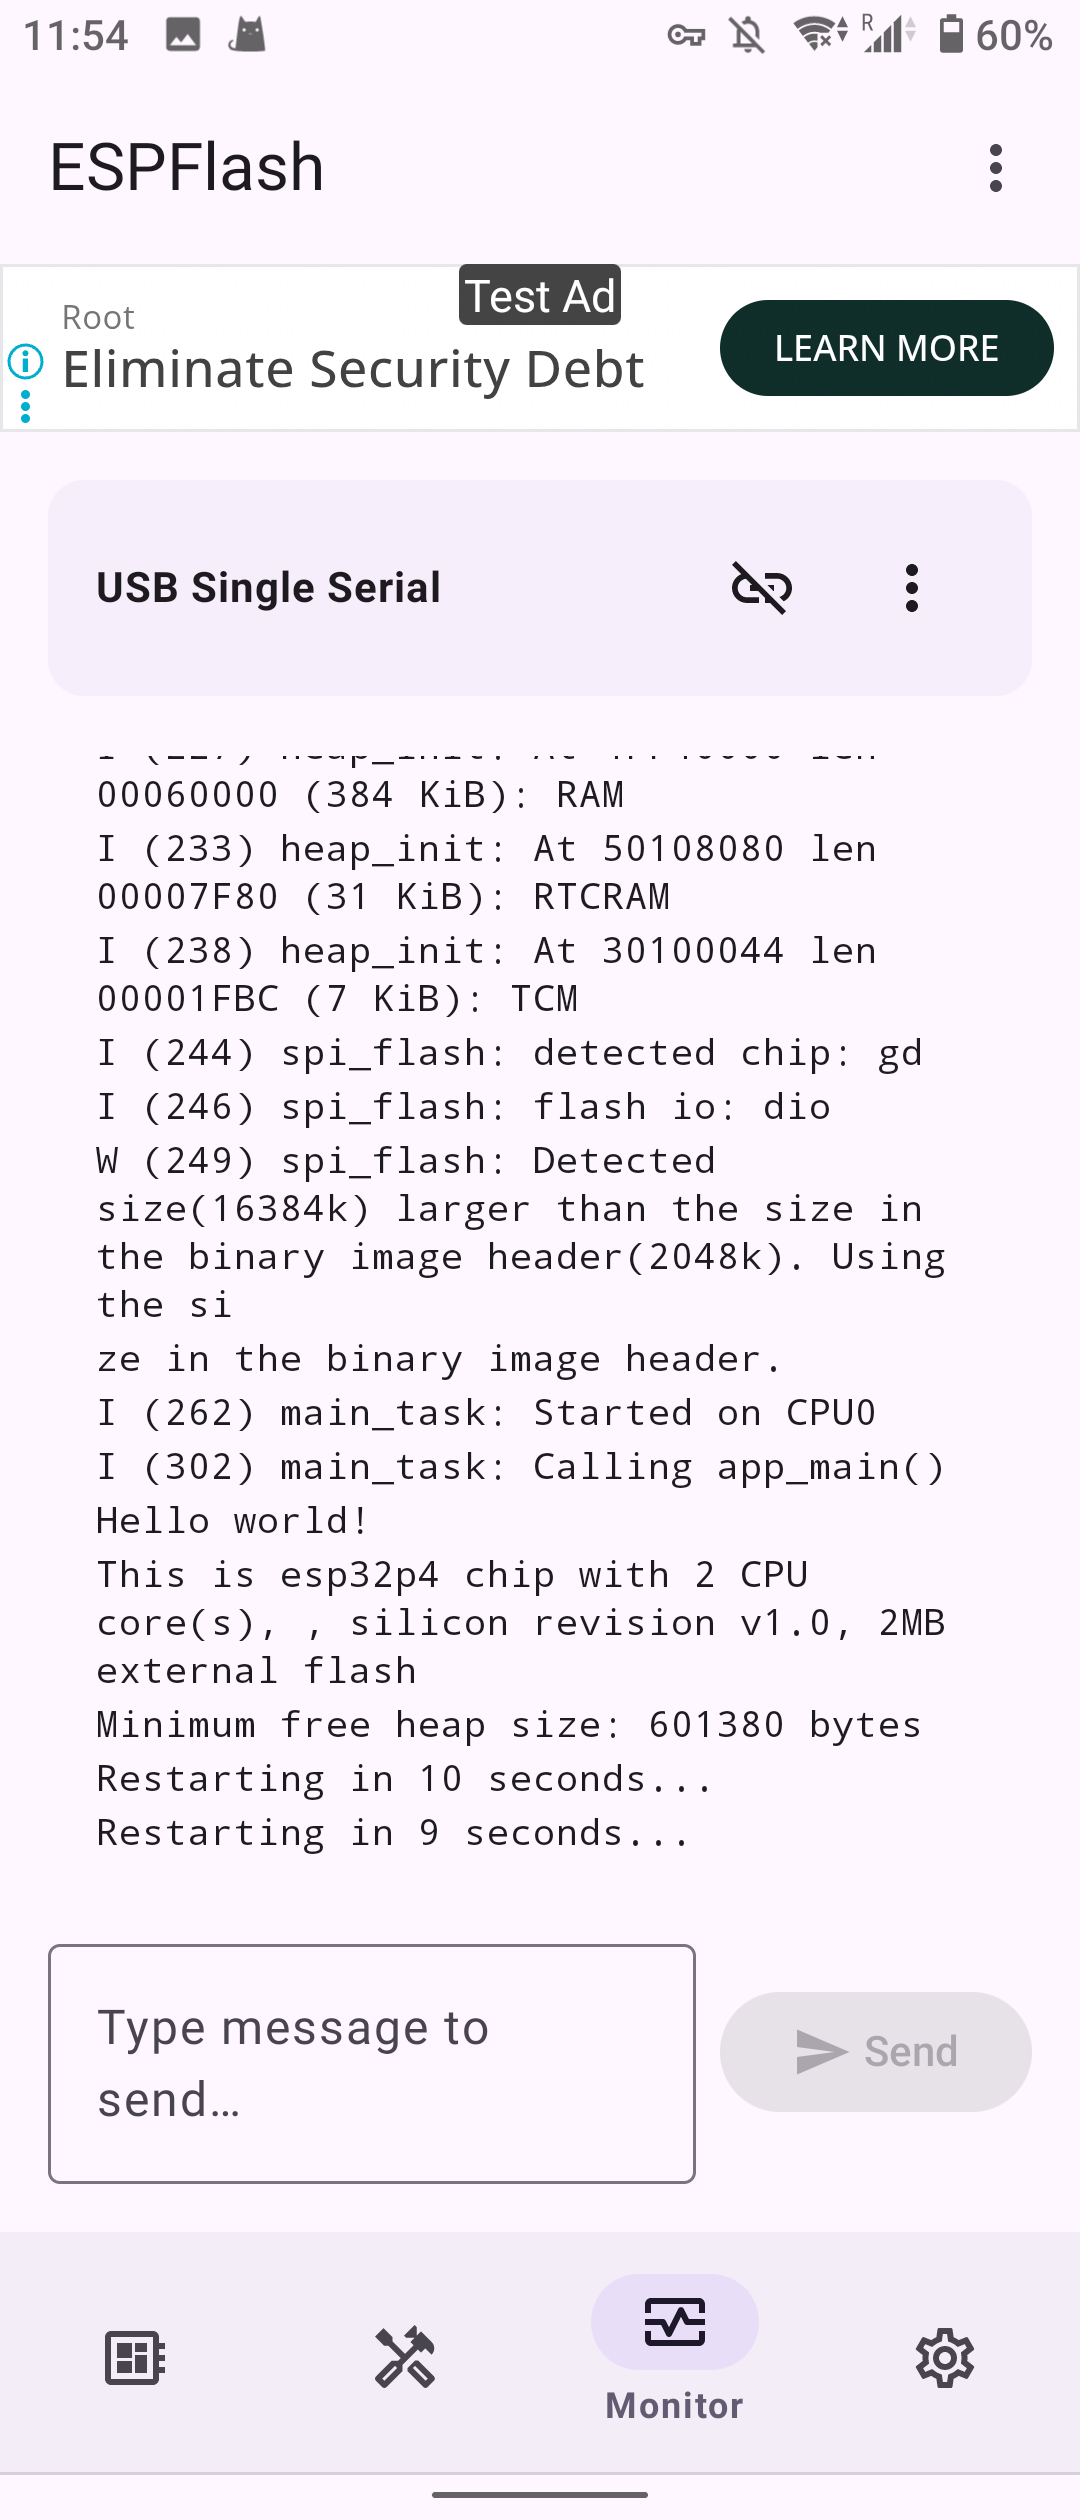 Except for some minor issues in UI adaptation, the entire serial port monitor is very functional and even uses a BottomSheet to configure serial port parameters.
finally
It took another 2 days to continue to improve the APP functions, such as coloring the serial port output text, troubleshooting problems such as the inability to dump the firmware on the ESP8266. Especially to deal with this dump firmware problem, with the cooperation of Claude, I spent a lot of tokens to analyze the dumped firmware, and finally found out that there was a problem with the decoding of the SLIP package. Frankly speaking, I did not have the confidence or ability to troubleshoot this problem.
After only two days of use, I was already addicted, just like it is now difficult to troubleshoot problems through traditional search engines and directly use AI to program.