Make yourself a small pixel desktop screen
Show me the process of making your own mini version of a pixel display
background
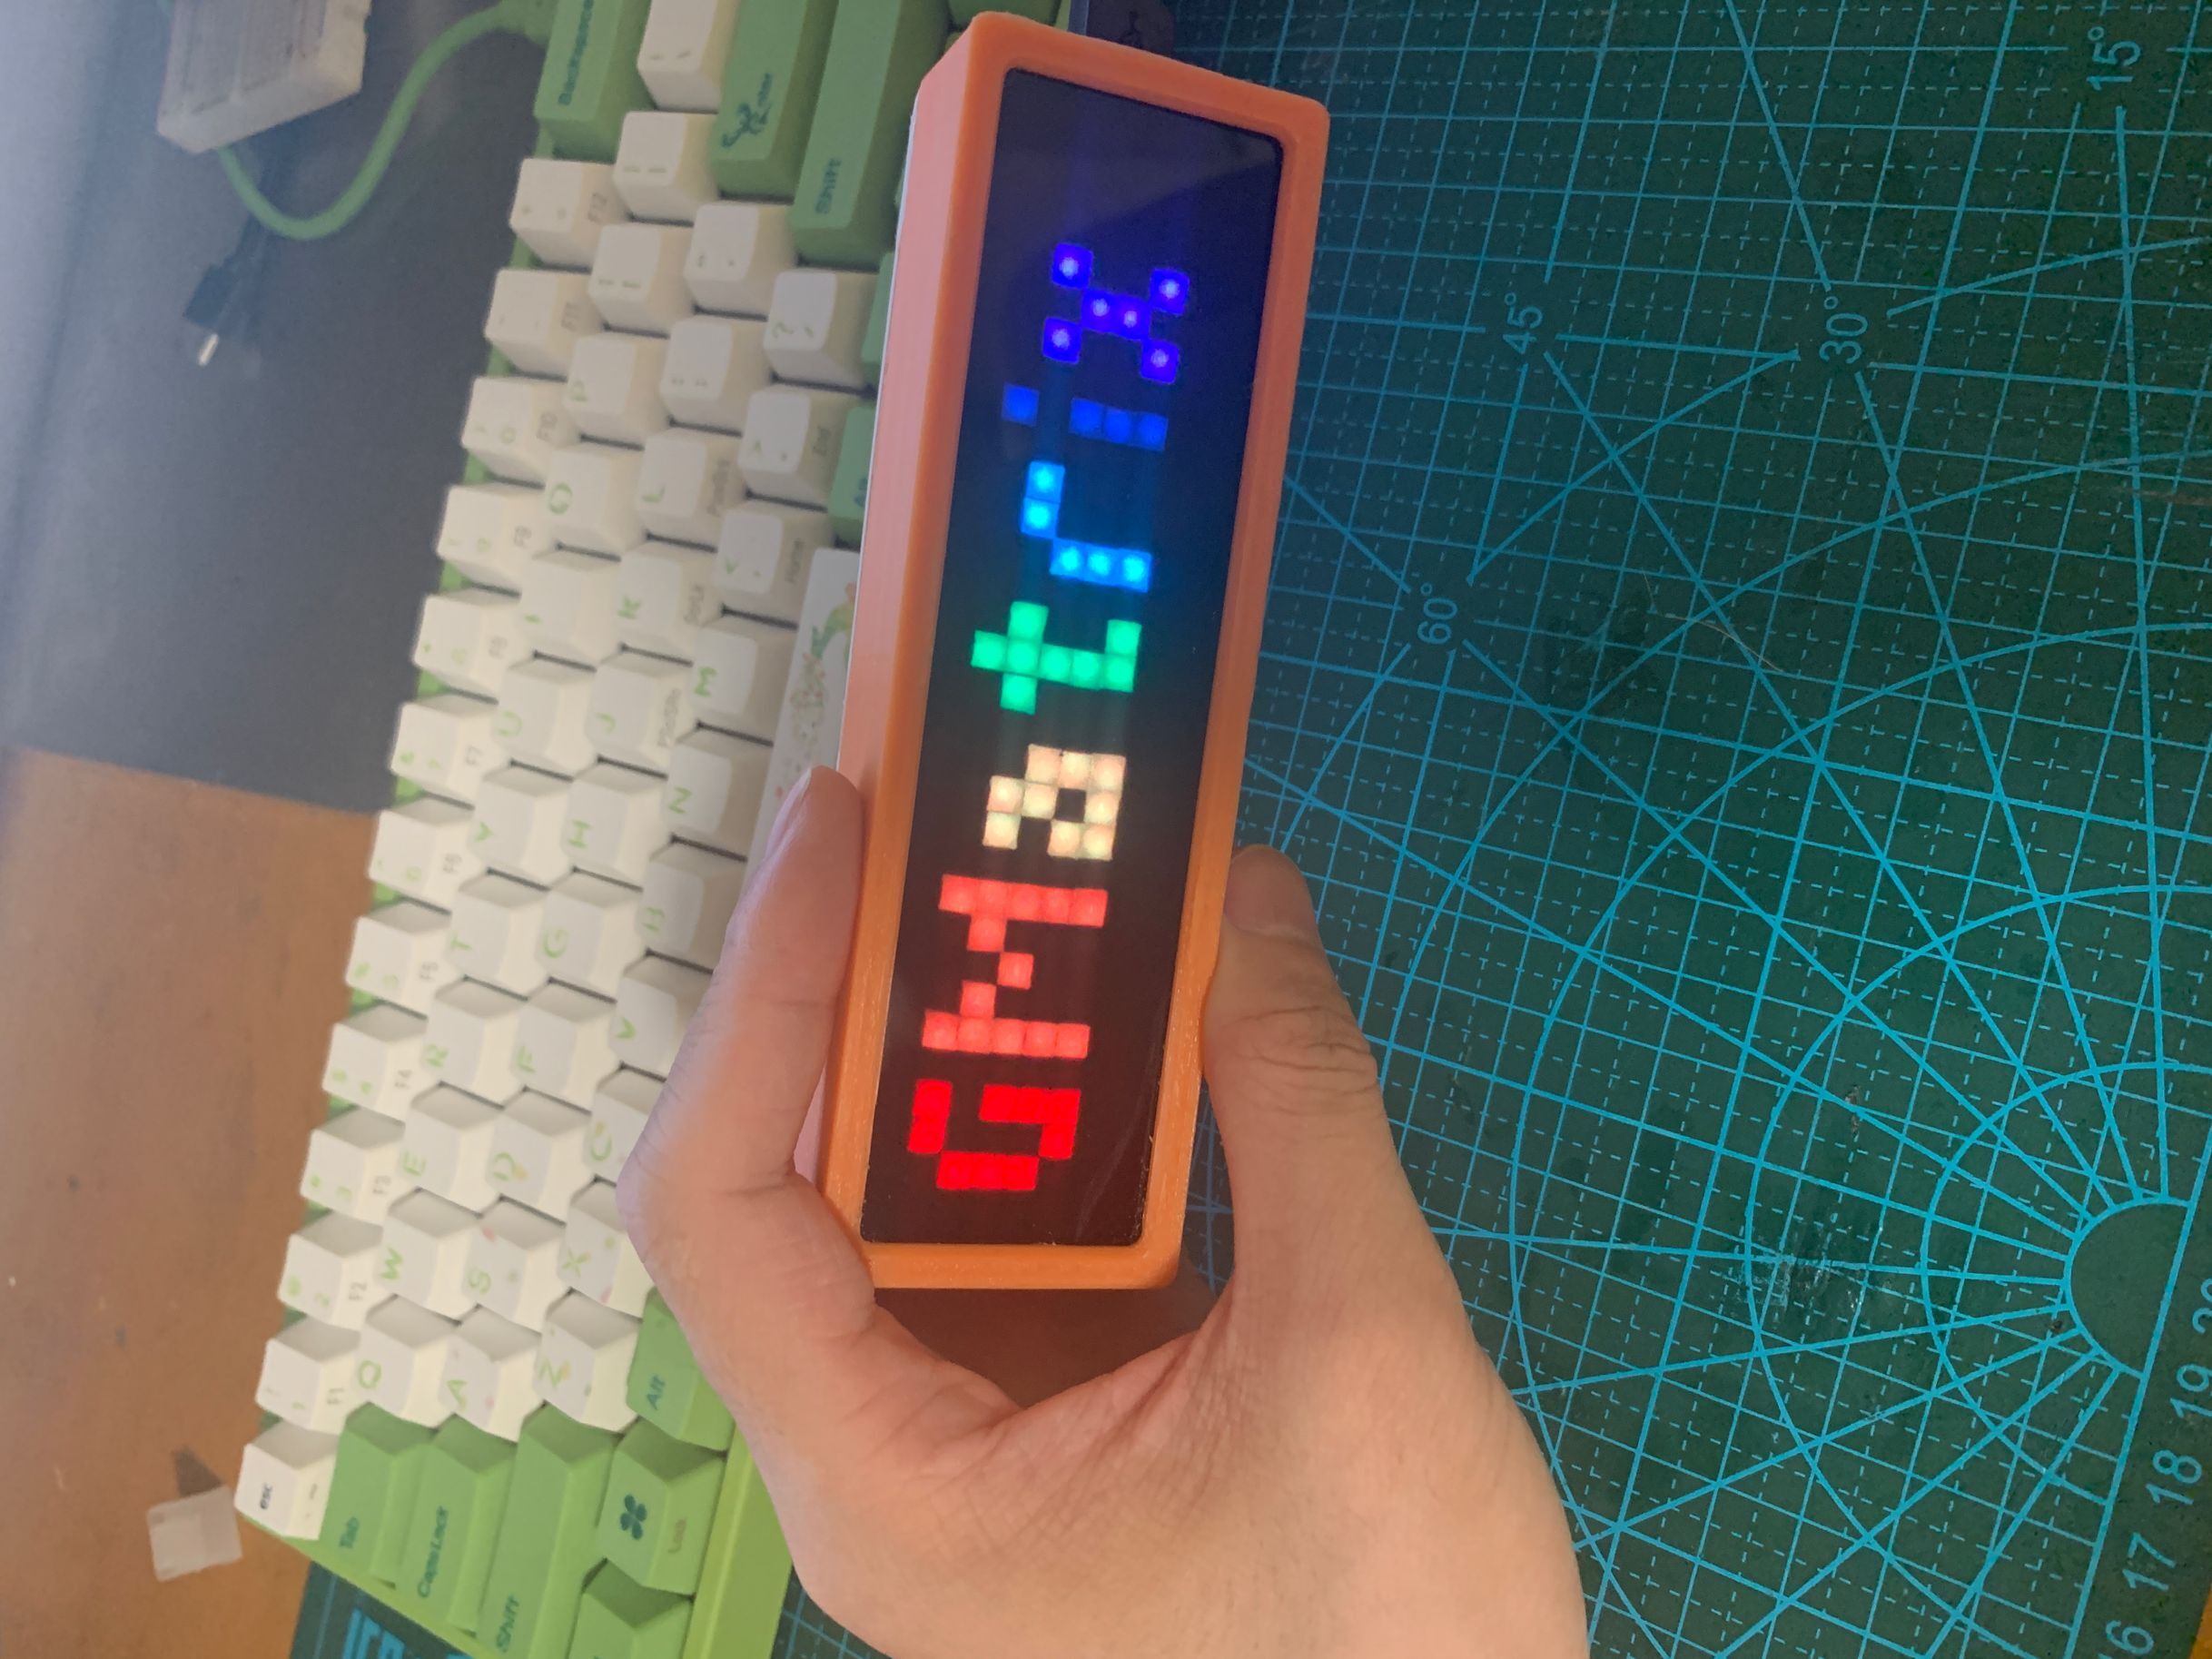
During the previous epidemic (2020-02~2020-03), I made a large pixel screen and gave it as a birthday gift. The chip used at that time was ESP32, and the development language was micropython. The performance of the No. 1 machine was not very good, so we planned to make a version using C/C++ that could run at a higher frame rate.
If it were just a pure rewrite of the firmware, it would not be much different from the AWatrix made by most people, so I decided to make a mini version of the pixel display.
Many places refer to the code of AWatrix, because apart from the fact that AWatrix must be connected to the server before it can be used, it is really an excellent firmware. Some libraries used by AWatrix are of great reference value, such as FastLED_NexPixel, which uses the LED dot matrix as a “screen” and can easily draw some basic graphics. The development tool is PlantformIO, which is also a very convenient tool. Just install the plug-in for VSCode.
start tidying up
0x01 Draw the circuit board
The smallest LED patch light with built-in WS2812 that can be found on Magnum is 2020LED, with a length and width of 2mm, which is much smaller than the 5050 or 3535 used by conventional AWatrix. However, since there is no ready-made product, I can only draw a circuit board myself. Fortunately, the circuit is very simple, just connect them one by one, and then wind them into an S shape.
The PCB drawing software I chose this time is Eagle PCB because it is free and compact. (But I plan to use KiCad to draw circuit diagrams in the future, because open source is powerful)
I finished drawing the circuit diagram in a hurry.
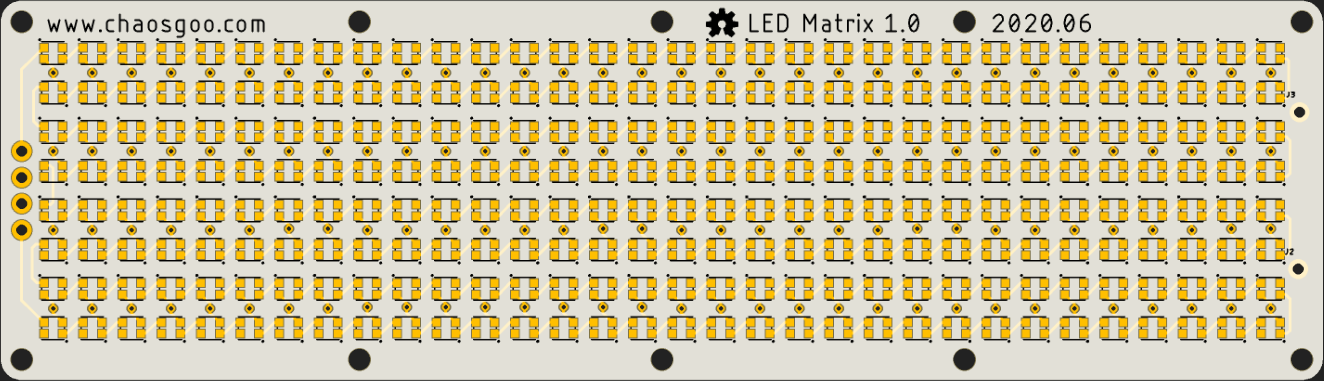
Then submit the Gerber file to the manufacturer and wait for 3 days before receiving the finished product.
0x02 Soldering LED SMD Light
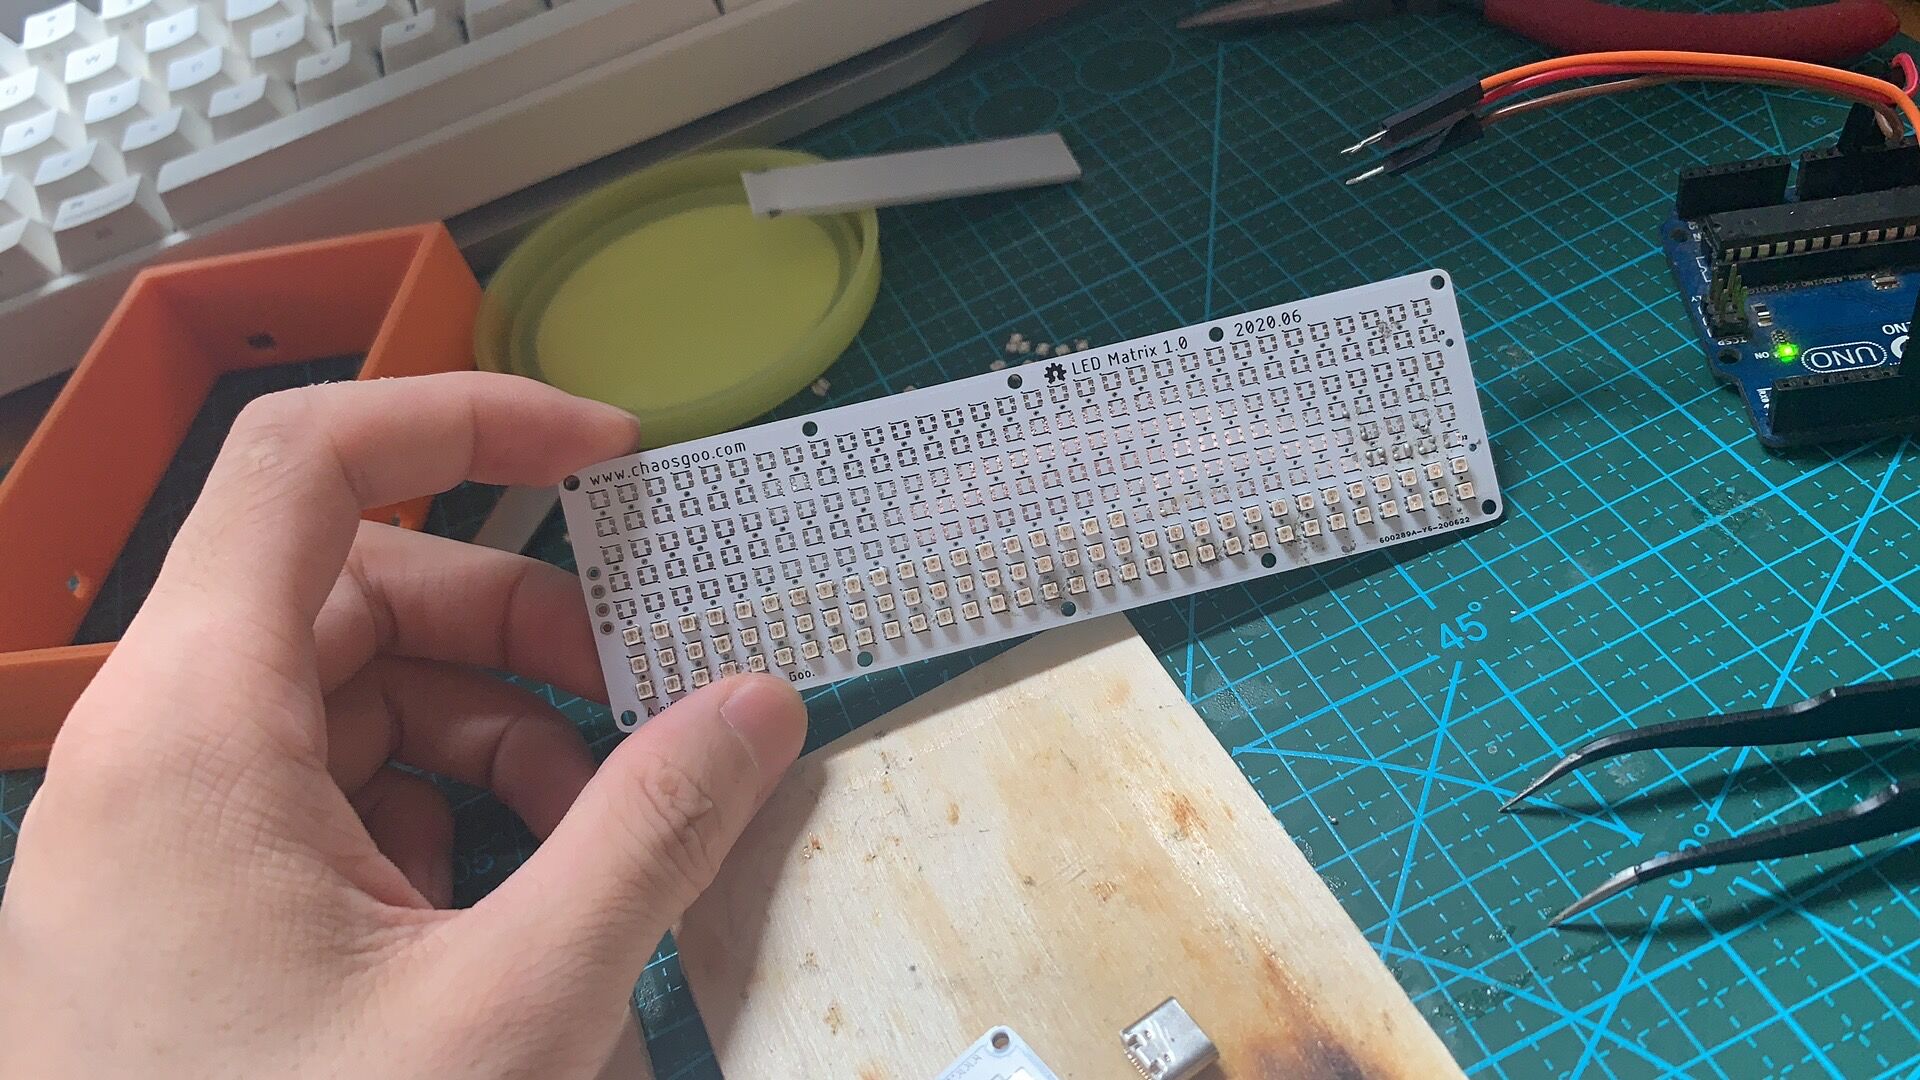
There is nothing much to say about this step. I used solder paste with a melting point of 182 degrees, so I applied it on the board first, and then blew the air gun against it.
It took about half a day to solder all the SMD lights, because it was too troublesome, and I accidentally knocked one off, and then a series of chain reactions occurred.
0x03 Get code and modify parameters
The code is located at Github After downloading, use PlantformIO to import the project.
- Modify the B station ID, city and weather Key located in gmatrix_config.h
##define SUNING_TIME_URL "http://quan.suning.com/getSysTime.do"
##define BILIBILI_SUBSCRIPTION_URL "http://api.bilibili.com/x/relation/stat?vmid=哔哩哔哩UID"
##define WEATHER_URL "http://api.openweathermap.org/data/2.5/weather?q=城市的拼音&appid=天气api"- Modify the WiFi name and password located in Gmartix.cpp.
// WiFi名称
const char *ssid = "CloseWrt_9.6G_D96AS5";
// WiFi密码
const char *pwd = "have5seeds";
Then directly use PlantformIO to compile or download to the board
0x04 Burn firmware
You can download it directly to the board using PlantformIO, or you can use other flashing tools to burn it after building. The programming software I use is NodeMCU Firmware Programmer
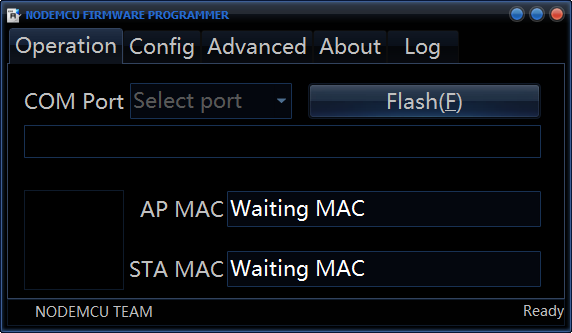
Plug in the board, select the corresponding port number, and then click Flash to start flashing.
0x05 Wiring & Assembly
Material list
| Serial number | Name | Quantity | Remarks |
|---|---|---|---|
| 1 | WeMos D1 mini | 1 | None |
| 2 | LED board | 1 | Homemade |
| 3 | htu01d | 1 | Temperature and humidity sensor |
| 4 | Wire | ? | None |
| 5 | 3D printed housing | 1 | None |
| 6 | Acrylic grating | 1 | None |
| 7 | A4 paper | 1 | None |
| 8 | Dark translucent acrylic | 1 | None |
| 9 | Back cover | 1 | Can be made from any material |
Wiring
| WeMos D1 mini pin name | htu01d |
|---|---|
| 5V | VCC |
| GND | GND |
| D3 | SDA |
| D1 | SCL |
| WeMos D1 mini pin name | LED screen |
|---|---|
| Not connected | The second hole from top to bottom on the front |
| GND | The second hole from top to bottom on the front |
| 5V | The third hole from top to bottom on the front |
| D2 | The 4th hole from top to bottom on the front |
| WeMos D1 mini pin name | Cooling fan |
|---|---|
| 5V | Red wire |
| GND | Black wire |
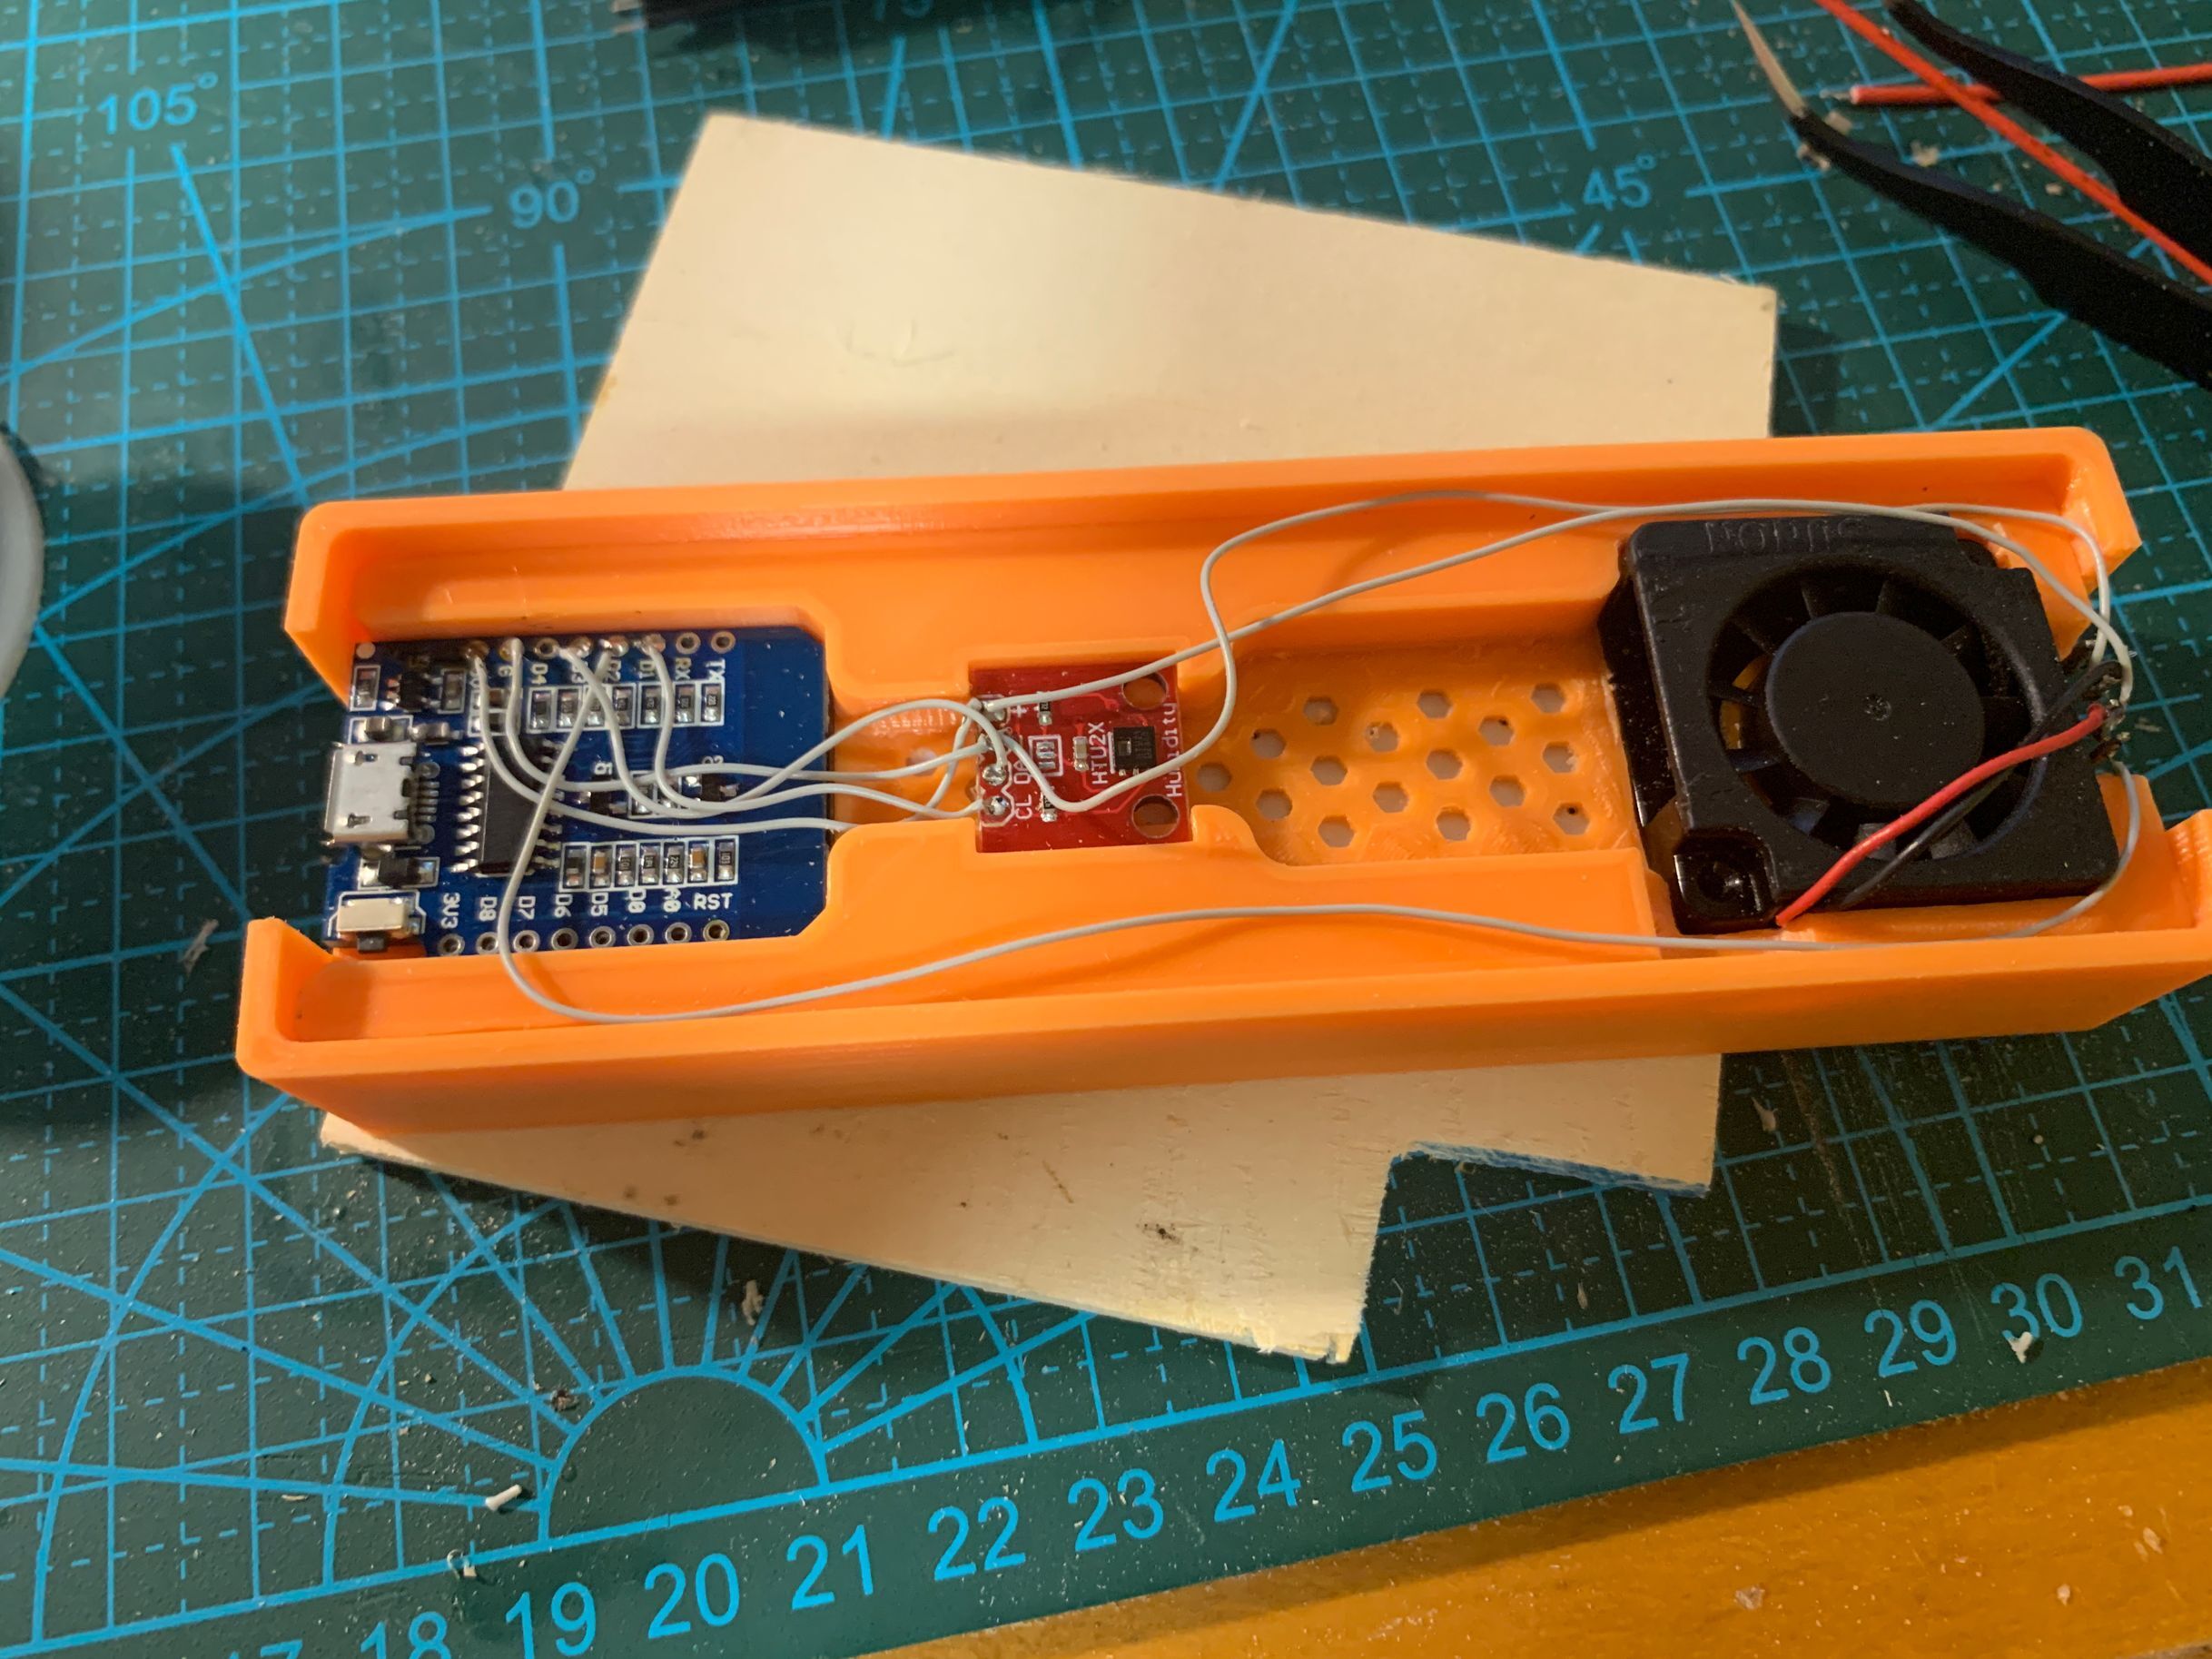
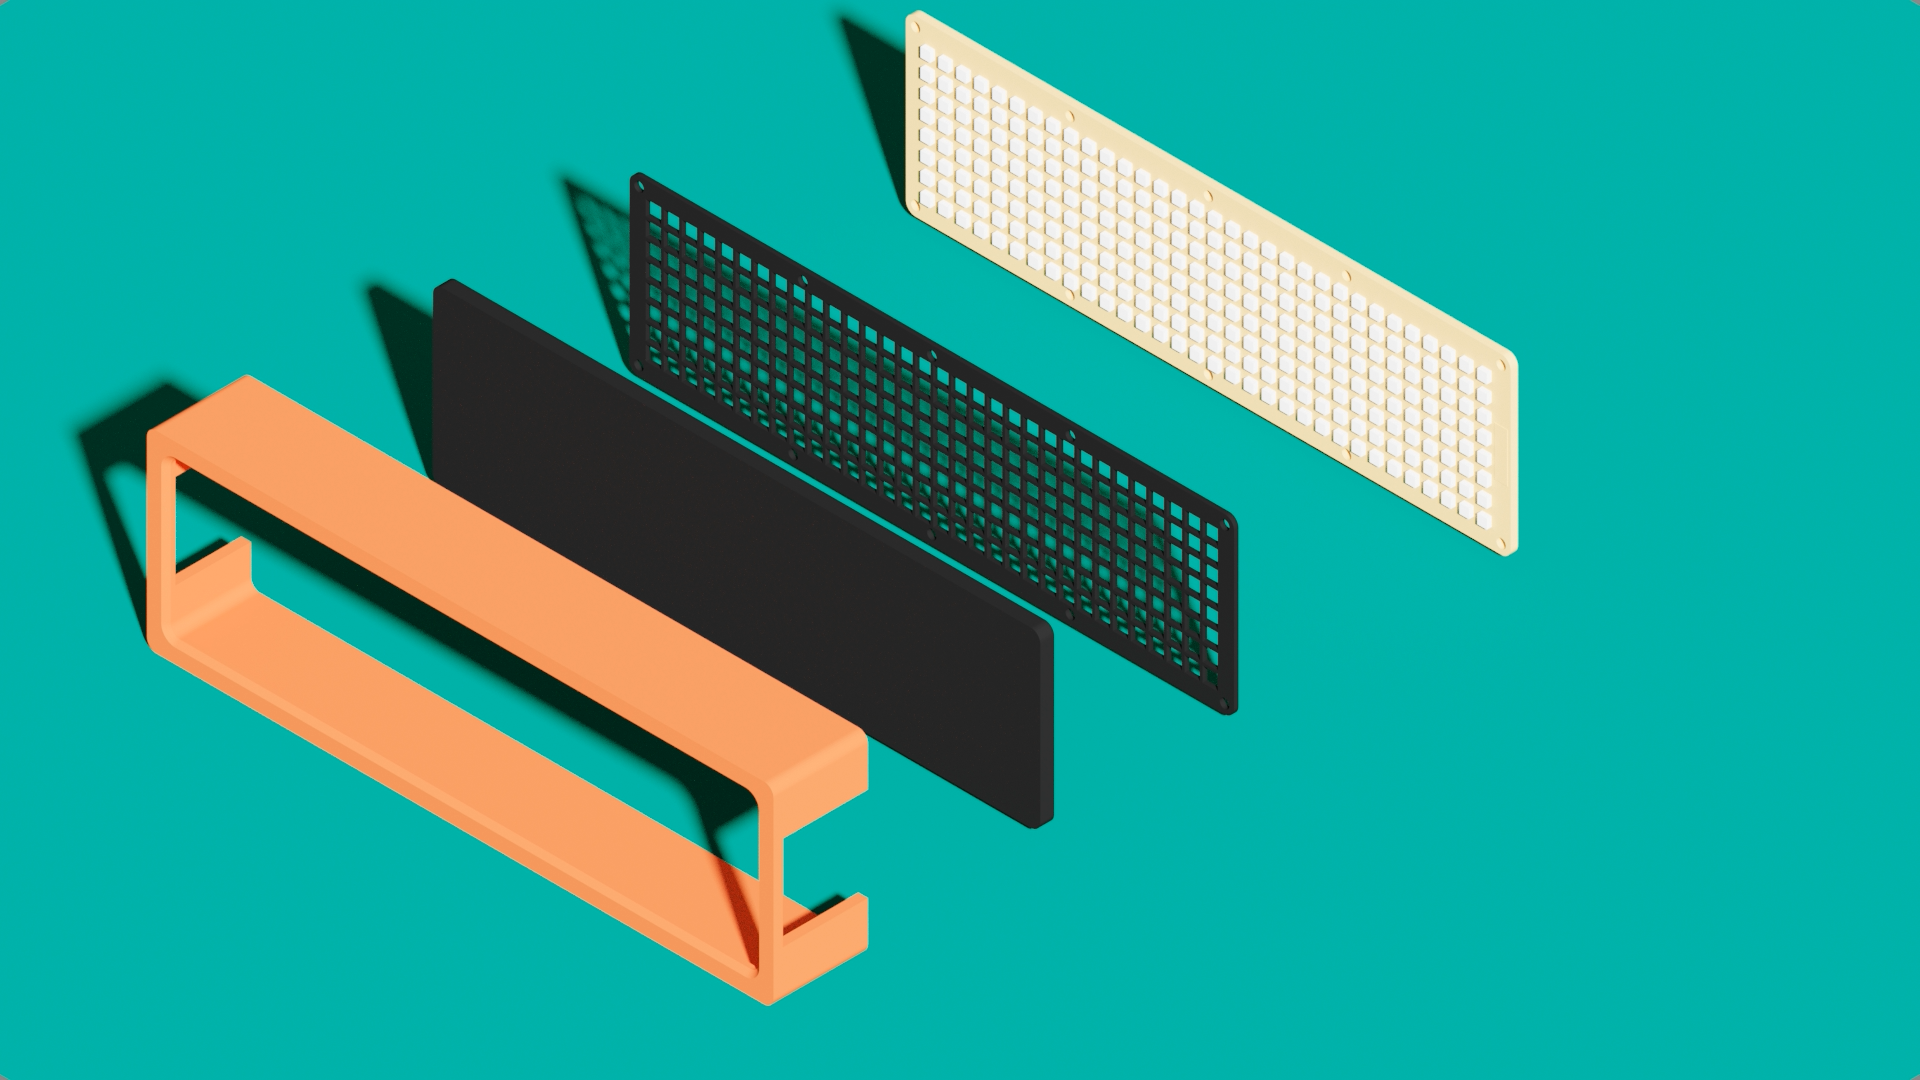
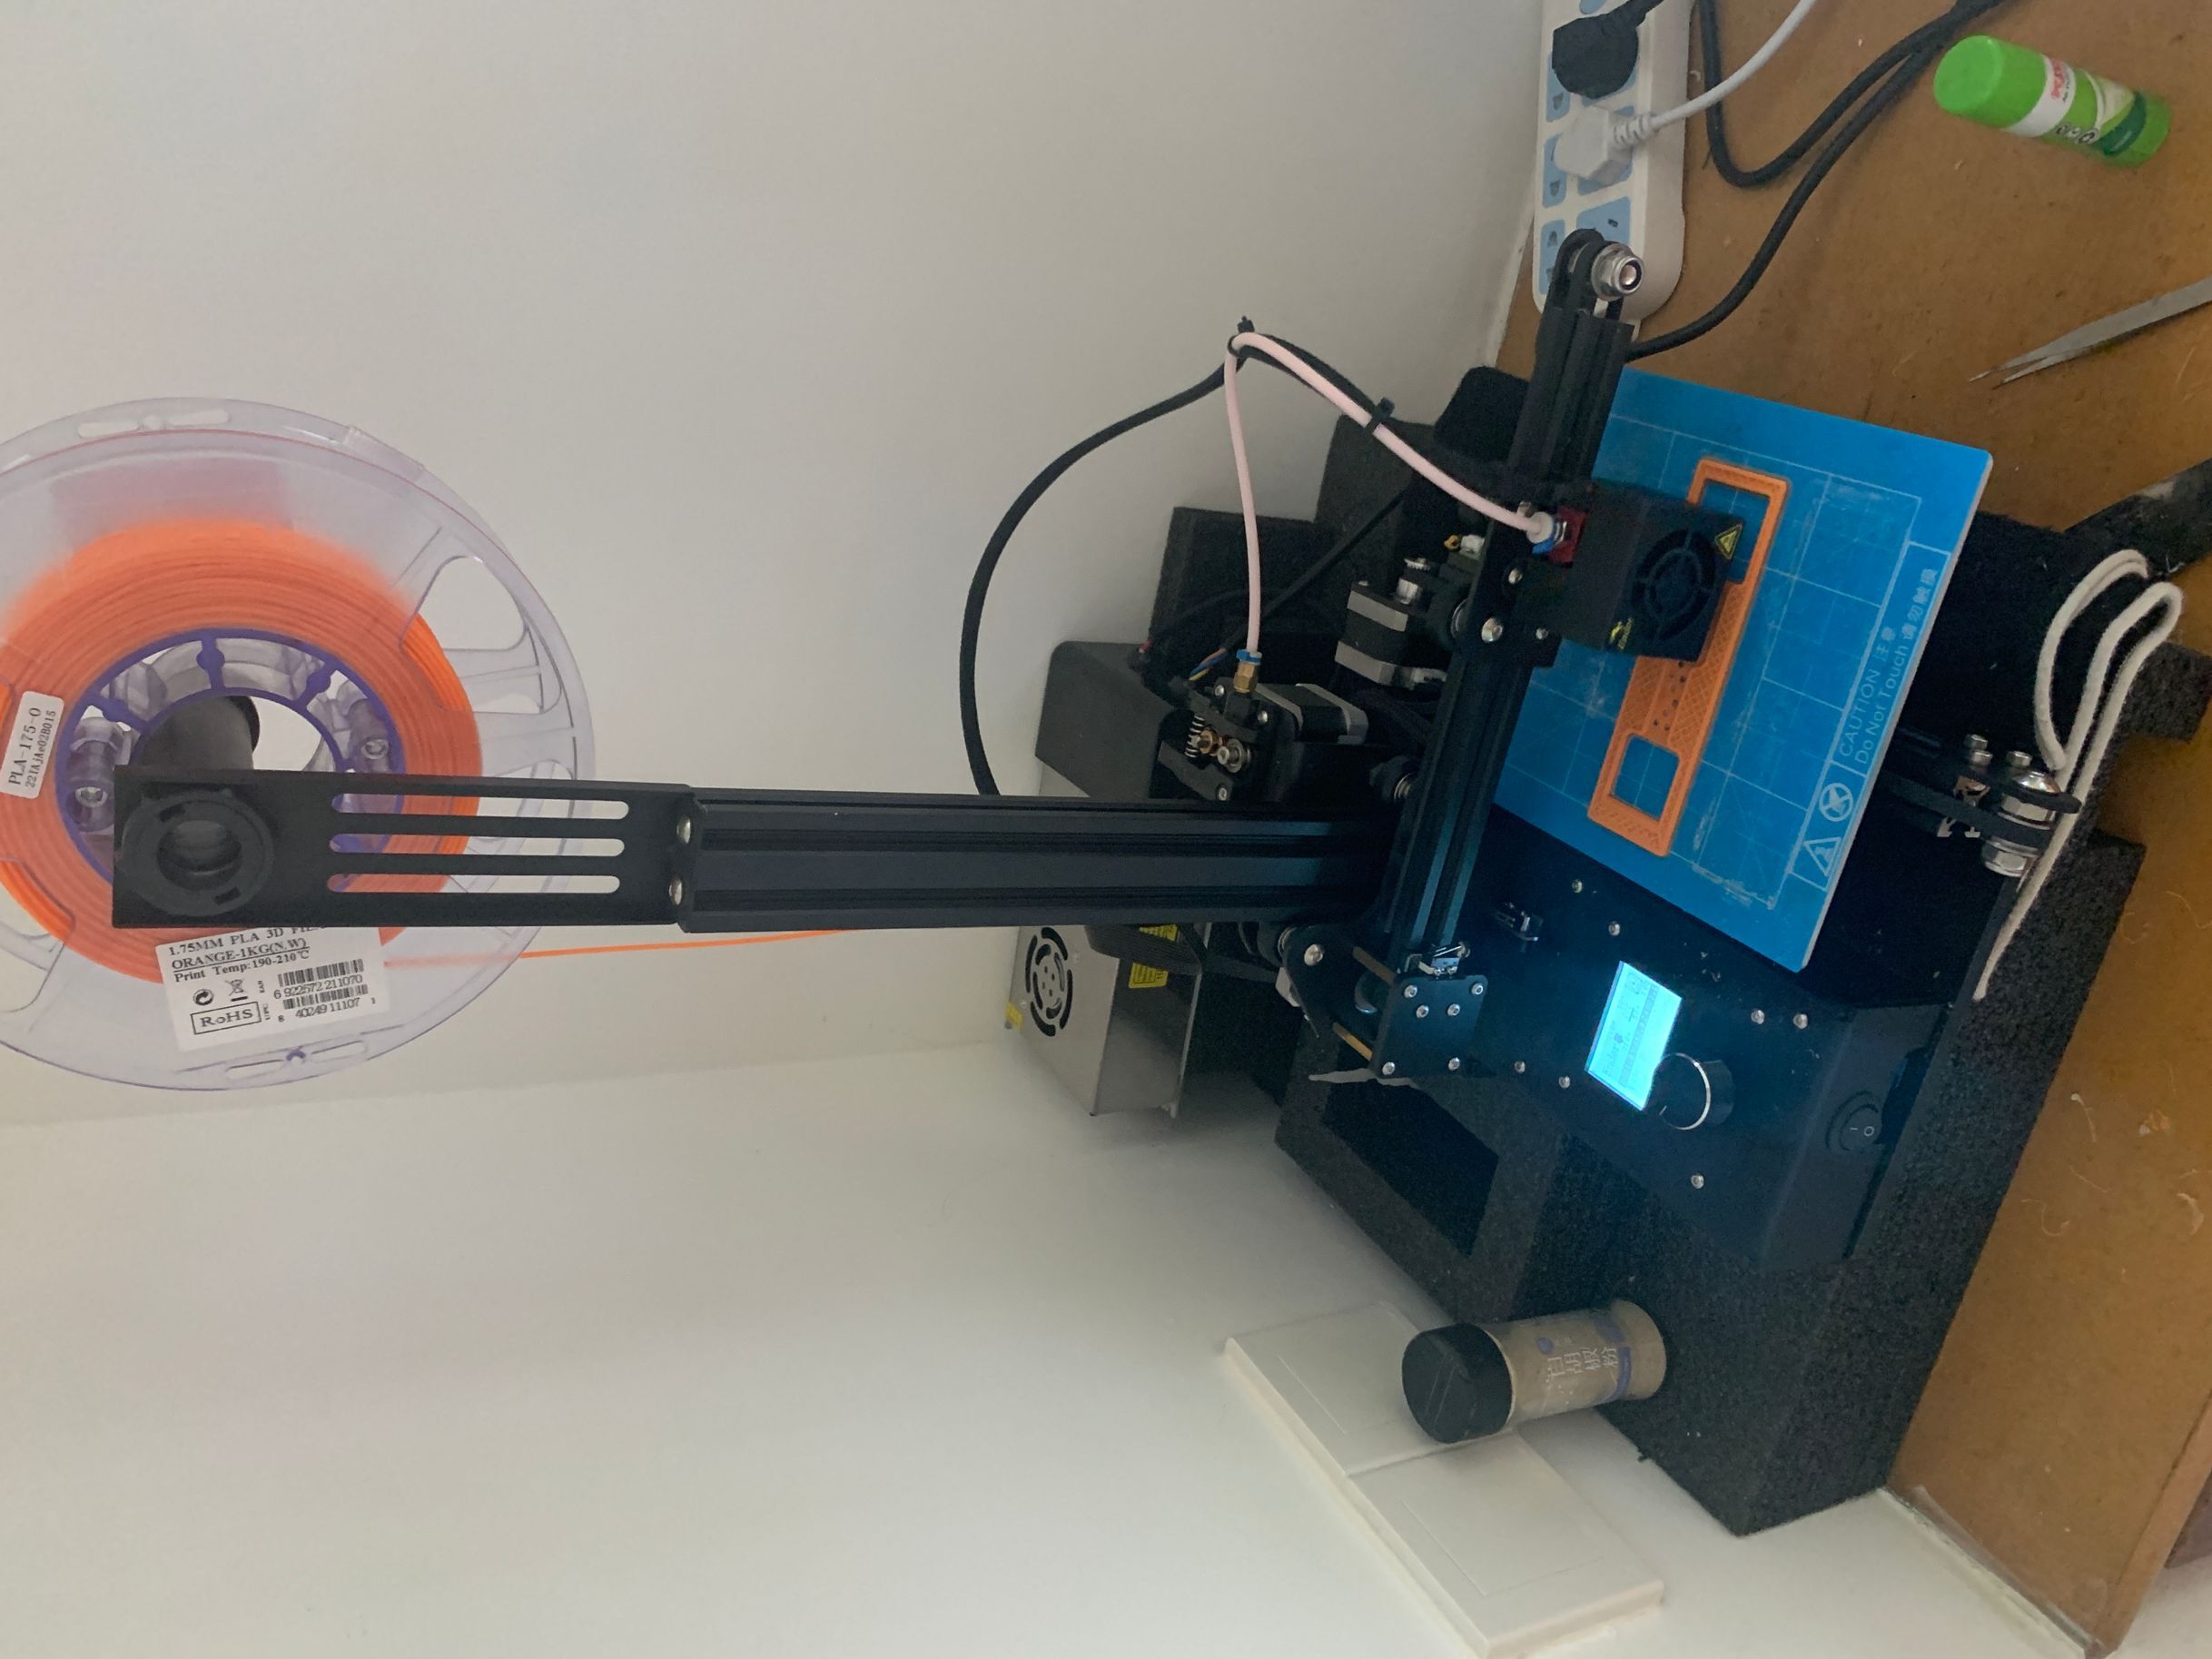
Customized acrylic is used to make the grating, and 3D printing is used for the shell. It is assembled in the order shown in the picture below. It should be noted that a layer of A4 paper needs to be added between the grating and the dark semi-transparent acrylic for soft light.
0x06Finished product display
References: AWatrix