background
The Pro Micro I am using is a compact development board based on the ATmega32U4 chip. Its biggest feature is the built-in USB controller, which can be directly recognized by the computer as a HID device (keyboard, mouse, etc.) without the need for an additional serial port to USB chip. It is compact and has USB self-updating.
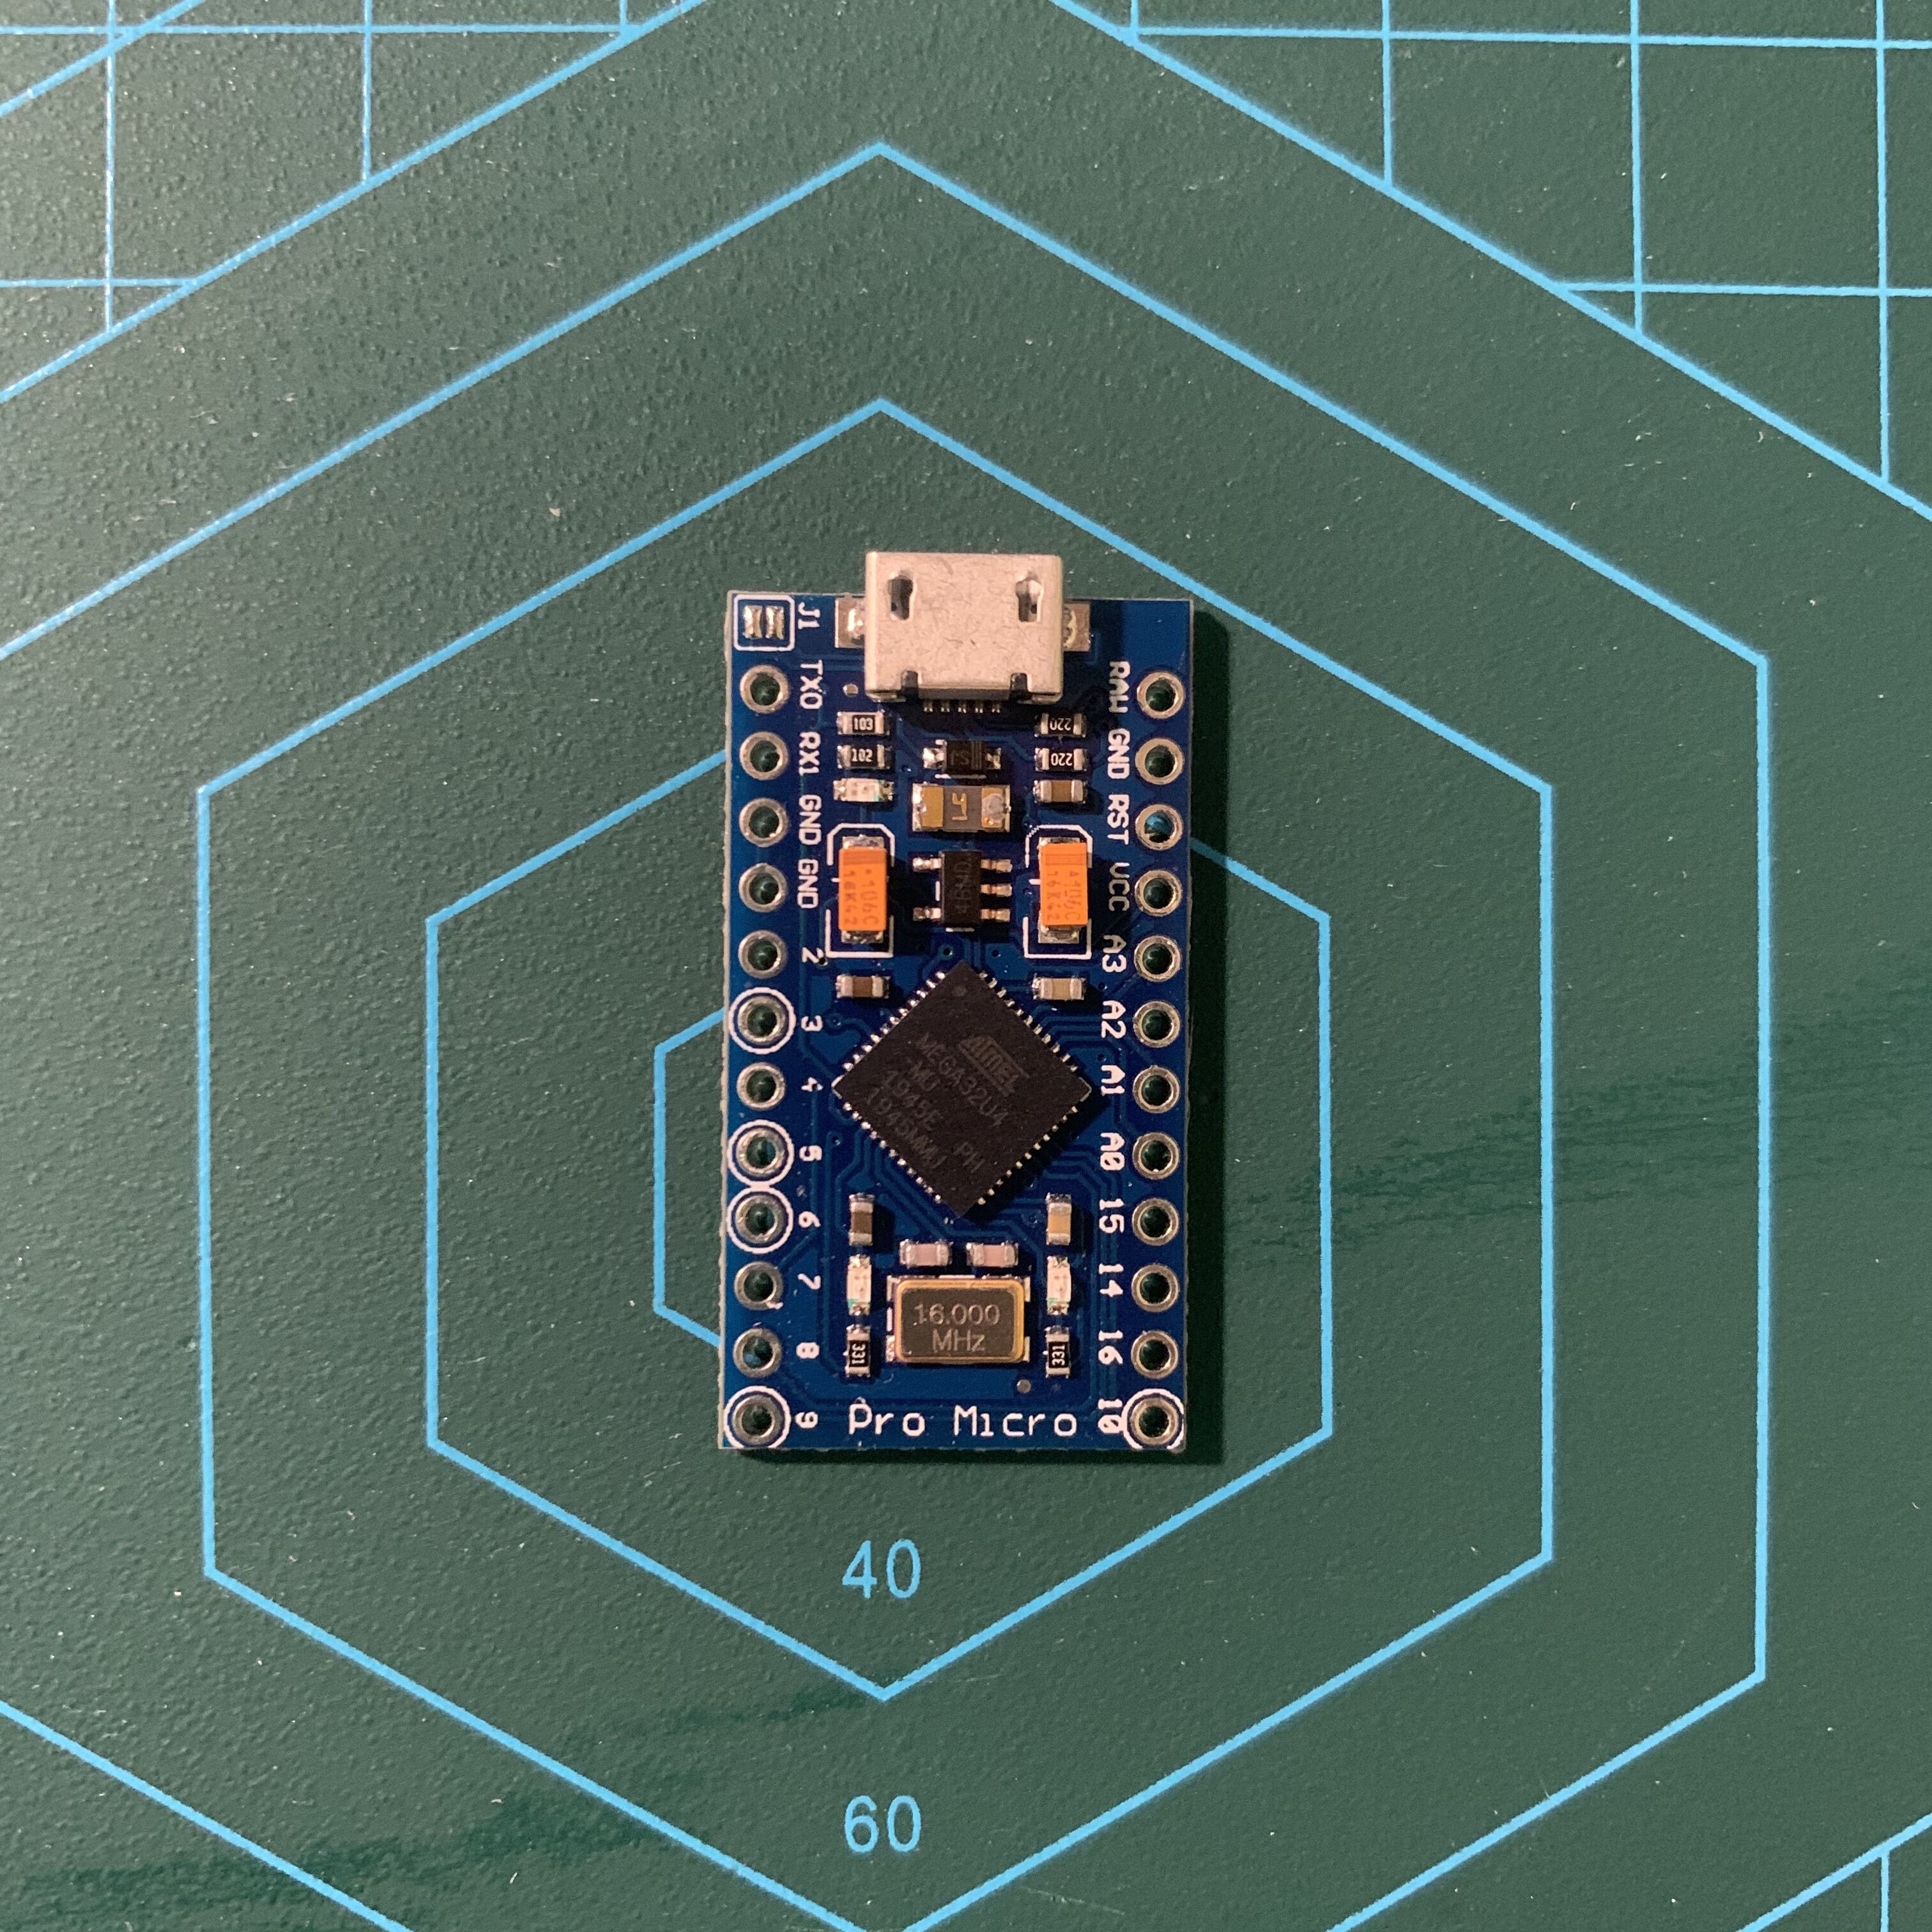
Recently I started making a new gadget, and the development board I used was Pro Micro. It worked normally at first, and there were no problems with various controls of the flashing program.
Suddenly in the early morning, the computer cannot recognize when plugged in, or it will be disconnected immediately after being recognized. It also flashes in the Windows Device Manager.
Problem analysis
I reluctantly unpacked the new Pro Micro that had arrived two days earlier to check whether the old board really was faulty. And then the new board had exactly the same problem.
The probability of the new board breaking was not very high, so I checked the prepared .ino file instead.
🔍 Root cause location
After investigation, it was found that the file contained a few more lines of SoftwareSerial than last time. The problem is most likely that a few extra lines of code prevent Pro Micro from communicating properly with the PC.
Principle Analysis: The USB communication of Pro Micro (and Leonardo, Micro, etc. 32U4 series) is controlled by firmware. Your code in setup() or loop() may block USB communication when:
- Infinite loop waiting: For example,
while (!Serial);will block permanently when the serial port monitor is not connected - SoftwareSerial Conflict: Using a soft serial port on certain pins may interfere with USB timing
- Excessive interrupt usage: High-frequency interrupts cause USB handshake failure
- Code crash: The program runs away causing the USB controller to fail to respond normally
So after collecting a lot of information, I finally found a similar situation and successfully solved the problem.
Solution: Force into Bootloader mode
Let Pro Micro force it into Bootloader mode and burn in the normal code to restore the connection to the computer.
⚡ Key operating steps
| Step | Action | Description |
|---|---|---|
| 1 | Prepare a Dupont wire or tweezers | for shorting RST and GND |
| 2 | Quickly short RST and GND twice | The interval is about 0.5 seconds, similar to “double click” |
| 3 | Enter Bootloader mode | The onboard LED will flash for about 8 seconds |
| 4 | Click to upload immediately in Arduino IDE | Must complete flashing within 8 seconds |
⚠️ NOTE: Bootloader mode will only last 8 seconds, and will rerun the original problematic code after timeout. It is recommended to prepare a blank project in advance and upload it as soon as the bootloader is triggered.
📝 Blank recovery code
Create an empty project, and the setup and loop functions are empty:
void setup() {
  // 空
}

void loop() {
  // 空
}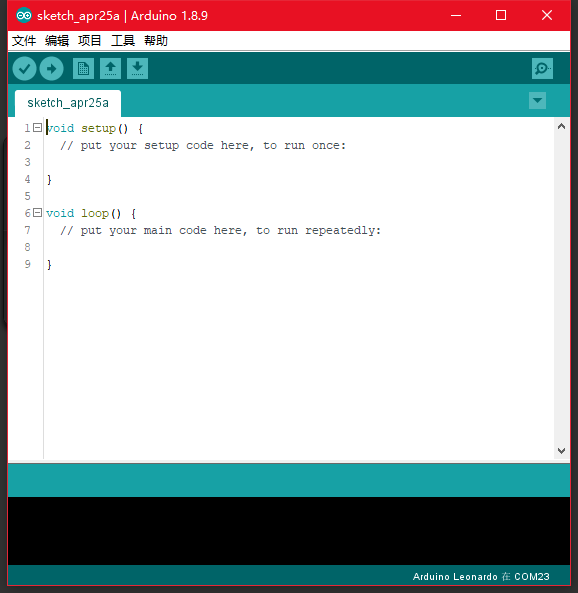
After the flashing is completed, the computer can detect the port number normally and use it as usual.
Preventive measures: avoid “bricking” again
In order to avoid encountering similar problems in the future, it is recommended to add the following protection measures to the code:
void setup() {
  // 给 USB 初始化留出时间
  delay(1000);

  // 或者使用带超时的等待
  unsigned long startTime = millis();
  while (!Serial && (millis() - startTime < 3000)) {
    // 最多等待 3 秒
  }

  // 你的初始化代码...
}
💡 Other suggestions
- When testing new code: Comment out the code that may be blocking first, confirm that USB communication is normal, and then gradually enable it.
- Use ICSP programmer: As the ultimate backup solution, you can force-burn the bootloader through the ICSP interface
- Mark dangerous code: Add a comment reminder when using
while(1),delay(a_very_large_value)
environmental information
| Item | Version/Model |
|---|---|
| Development Board | Arduino Pro Micro (ATmega32U4, 5V/16MHz) |
| IDE | Arduino IDE 1.8.9+ |
| Operating System | Windows 10/11 |